If you want to really do it up right, you have to start with bare metal. I found the following method to be the most effective use of time:
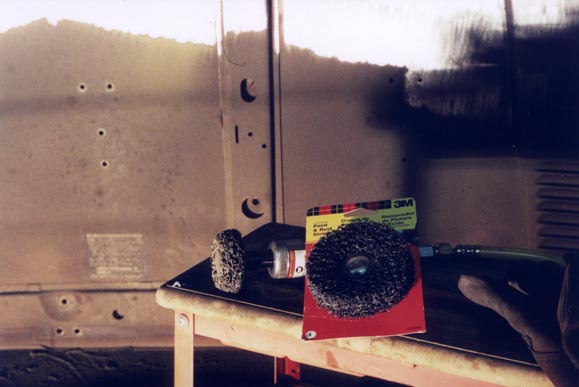
First sand as much as possible with an air powered rotary sander. I found that 120-150 grit was the best compromise between getting the job done quickly and leaving unsightly marks in the metal, also high RPMs, a light touch and a lot of patience help. In fact, I discovered a new sanding device, brought to us by those same folks at 3M that invented the post-it note. It looks like it was originally intended to go on the end of a regular drill, but I found it works great mounted on an air powered die grinder. It looks like this:
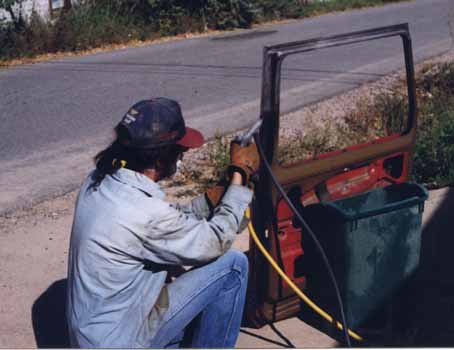
Then sandblast everything that you couldn't reach with the rotary sander.
Oh yeah, sandblasting has it's tips too:
* Make sure the sand is clean, dry, flows well and has consistent size
grains. If there is a lot of fine powdery sand in there it will cake up
and clog. Pepples, rocks, sticks and bits of bark are bad too! Quickcrete
Play Sand seems to work the best of all the different sands I have tried.
Stay away from Walmart sand!
* The air supply has to be as dry as possible. Water in the compressed
air will clog the tip of the gun like nobody's business! (So will oil from
that air tool oiler in the line....don't ask me how I know :-)
* If your air compressor can't quite keep up with the air consumption,
soon you will just start wasting sand because it has insufficient velocity
to adequately blast. Every so often, put the blaster down and go do something
else for e few minutes to allow the tank to charge back up. 60-70 PSI seems
to be minimum for efficient blasting, with 90-100 PSI being best.
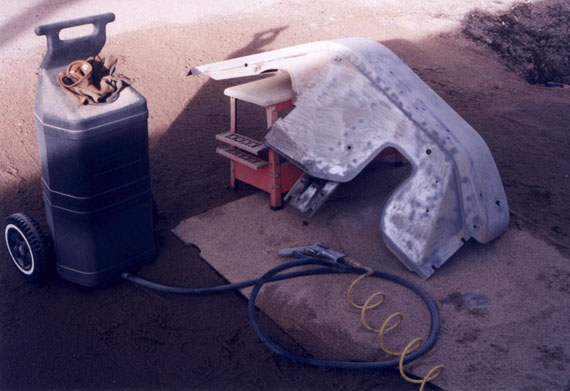
By now, all the paint is gone and all that is left is 100% bare metal, but it's not ready to prime yet:
After sandblasting, sand with an air powered random orbital (jitterbug) sander. This will help remove the deeper marks left by the rotary sander. 150 grit seems to work best for this application. I haven't found that emory cloth works any better than plain sandpaper.
If desired, hand sanding can be done now, there will be a lot of areas the jitterbug can't reach. Again, 150 grit seems to work best.
Next, go over every square inch with a wire wheel. This will smooth
out any remaining marks from all the sanding, and smooth out the sandblasted
areas that sandpaper couldn't reach. I was successful with a 3" cup wheel
on a high speed air powered die grinder.