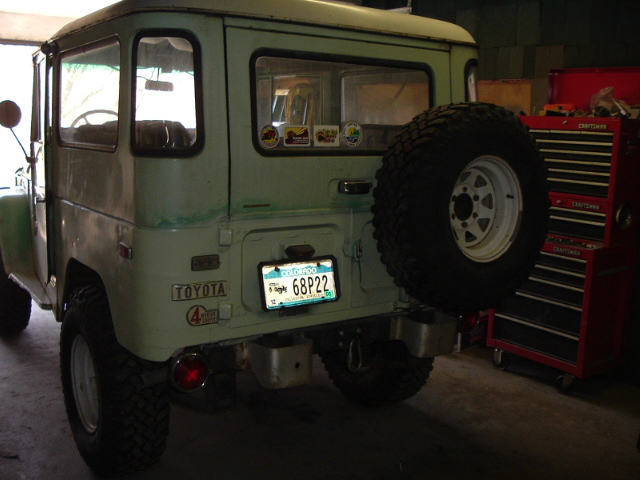
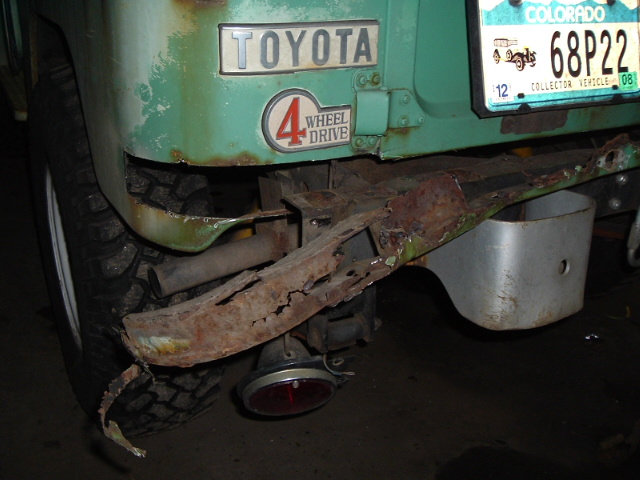
Before I started restoring my 1976 FJ40, I had bought a 1971 to have a Land Cruiser to drive while the '76 was going to be down. I selected the rig based on how stock and unmolested it was, relatively low miles, and relative lack of rust. As you might imagine, I had not anticipated how long the resto would take, so eight years later the 71 is getting rust in some of the same places, including the rear sill under the doors, and around the lower parts of the quarter panels. The rust got so bad I knew I had to do something about it before the resto was done.
The 71 is also my trail rig, and each year I have to prep it for Cruise Moab. Every year, it seems I have some kind of last-minute wrenching project before Moab. This year, I vowed to fix the rusted rear sill. Ian had given me a section of 2x2 square tube at the packing party a couple years ago, and last year at Moab, Bob Brown, who was following me on a trail, noted that every time I went over a bump, he could see air between the rear of my body and the frame crossmember.
This wasn't to be a pristine resto, but a structural rust repair. But having done so much work on the resto, I have gained enough experience and confidence to tackle a job like this. I had been given a four foot wide stick of 14 gauge 2x2 by a fellow Rising Sun member a few years earlier, and decided to put it to use.
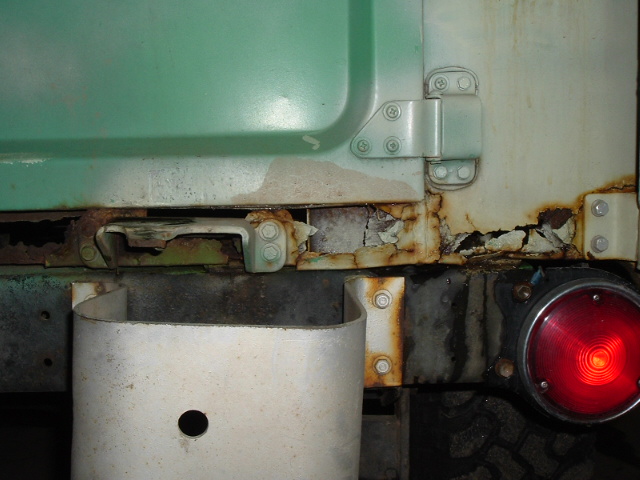
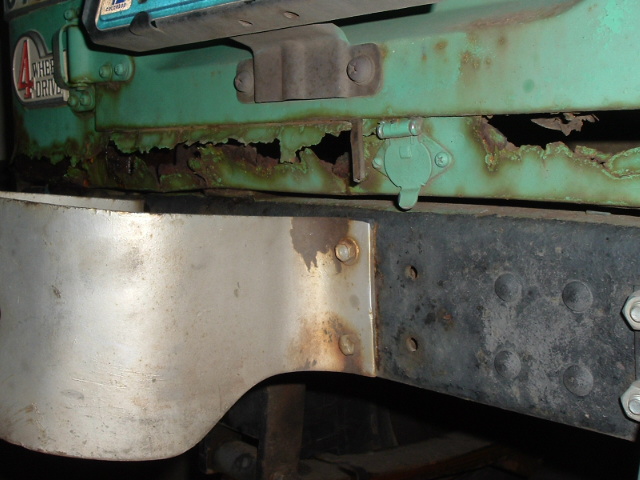
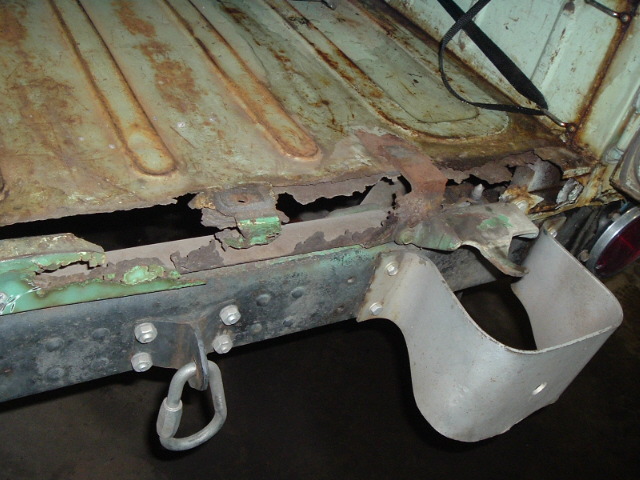
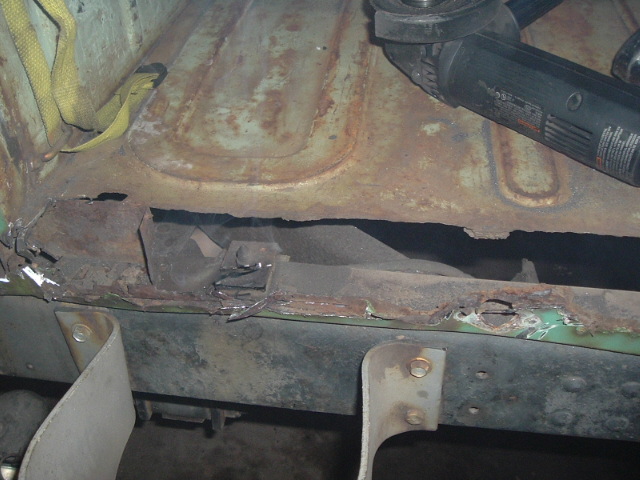
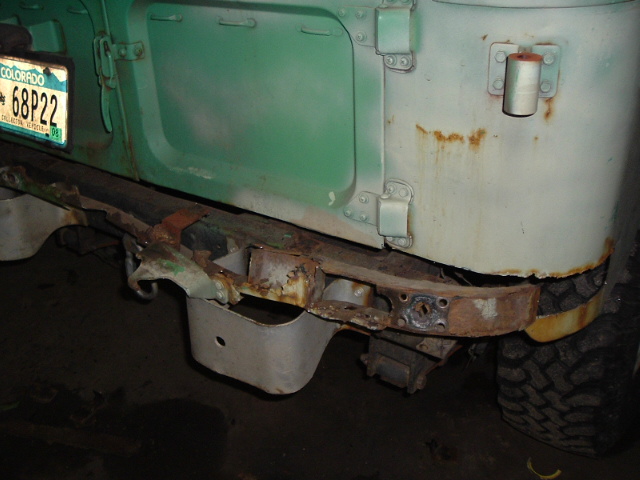
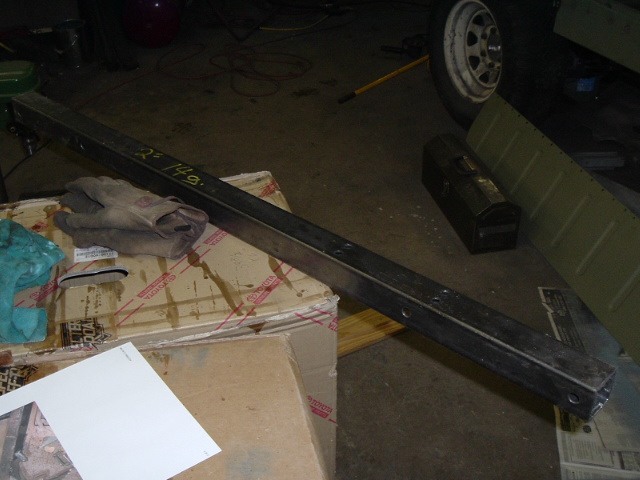
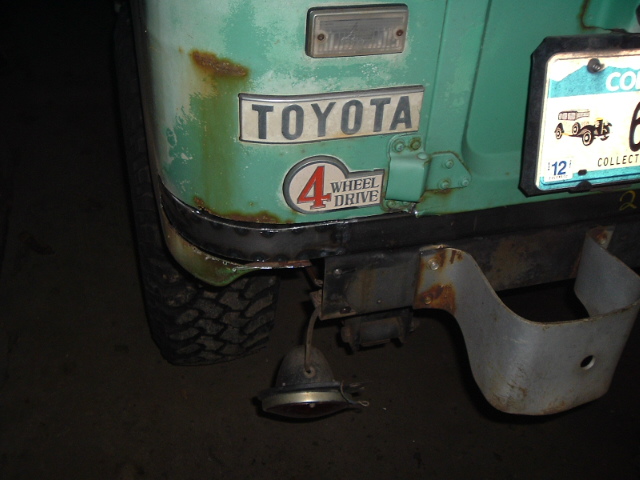
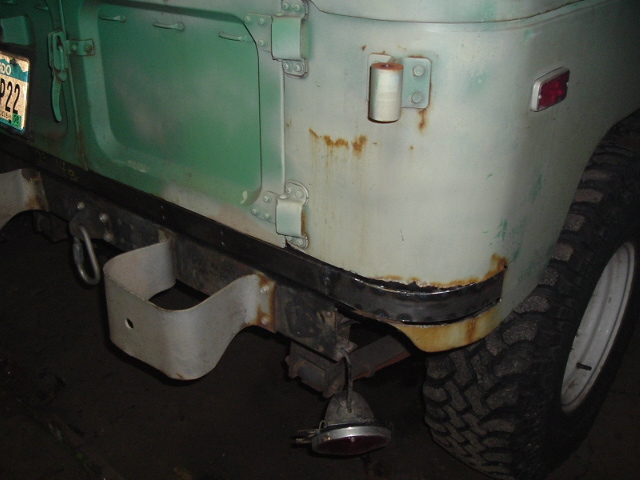
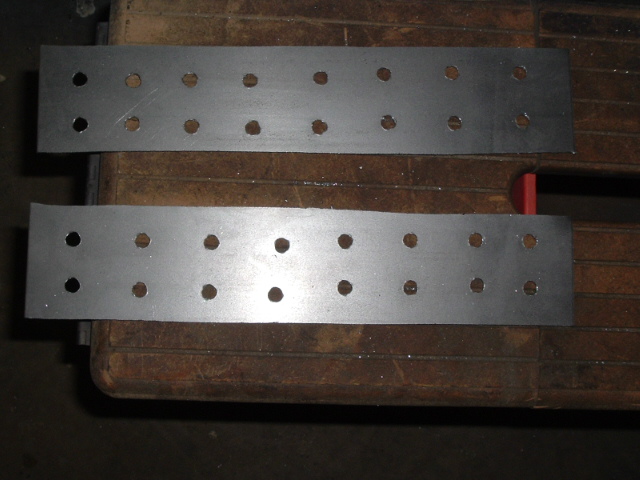
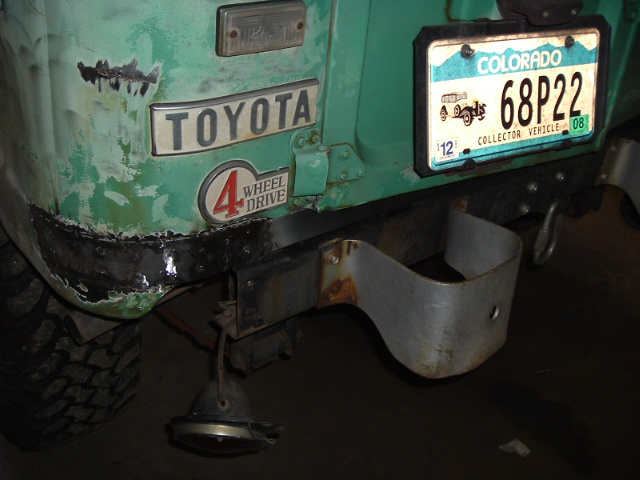
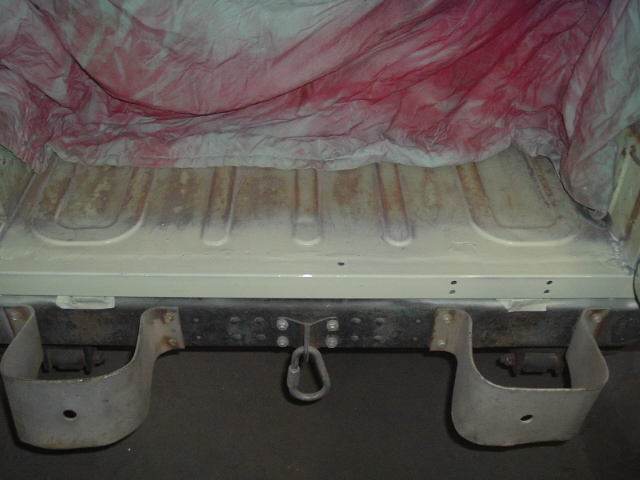
Below, you can see what I had to start with:


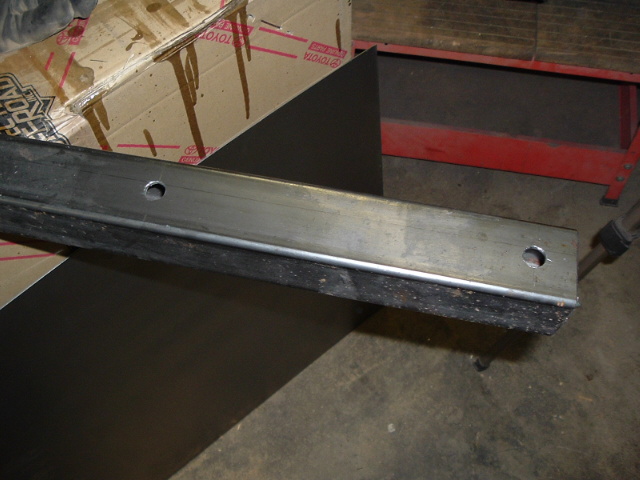
First, I measured exactly where the body mounts were on the rear frame crossmember on both the 71 and the 76. Then I drilled 1/2" holes, centered on the 2x2.
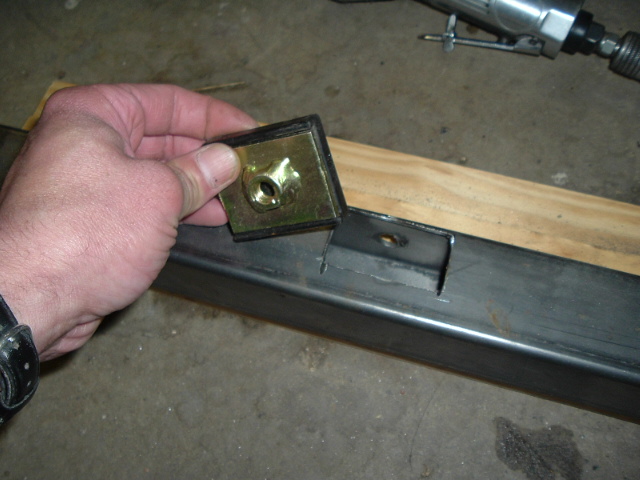
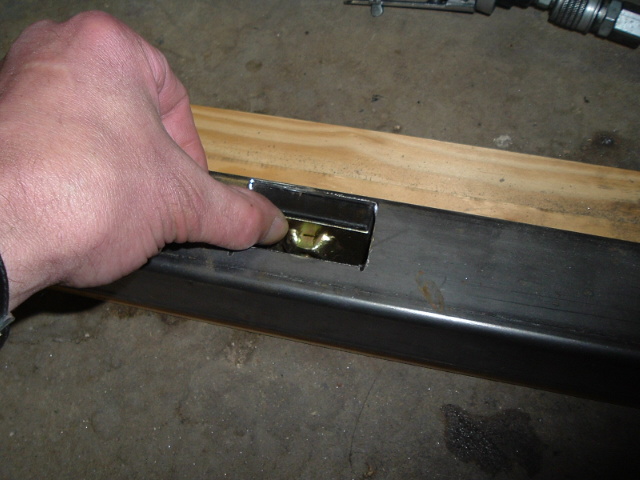
The stock design is a u-channel, open behind it so the body mounts can be accessed. Since this was 2x2 square tube, I had to cut rectangular openings for the two innermost body mounts. Here, I'm making sure the holes are big enough to get the body mounts inside.
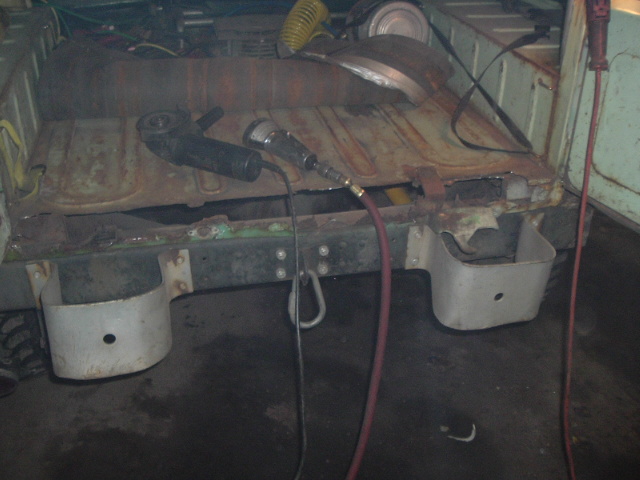
I had been thinking that this was going to be a one day job (yeahrightsure :-), and had been putting off taking the rig down. But at this point, I thought I was far enough along to go ahead and hack out the old sill. Between the grinder and the cutoff wheel, I chopped what was left. Even after soaking in liquid wrench, the old body mount bolts just twisted off, so I cut them. I guess 35 years worth of rust will do that to a lot of fasteners.
As with the body mount access, I needed a way to get at the spare carrier latch fasteners. I thought of any number of possible ways to do this, from trying to weld nuts on the back, to making a plate that could be adjusted around with the nuts weled to it, to welding another plate on the inside that could be directly threaded. In the end, I simply drilled holes for the bolts which were slightly large than the bolt diameter, and then cut access holes in the rear. The idea is that the oversize holes would give me a little adjustment for the location of the latch, and the access holes would allow me to get a socket into the other side of the fasteners.
Note that due to parallax of the camera's location, the access holes do not appear to line up correctly, but in fact they do.
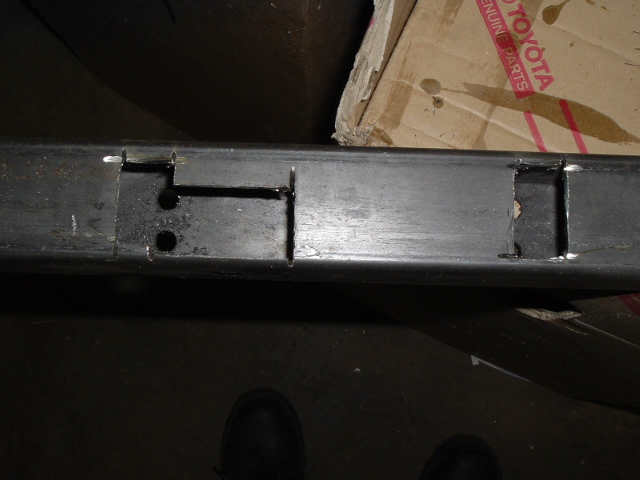
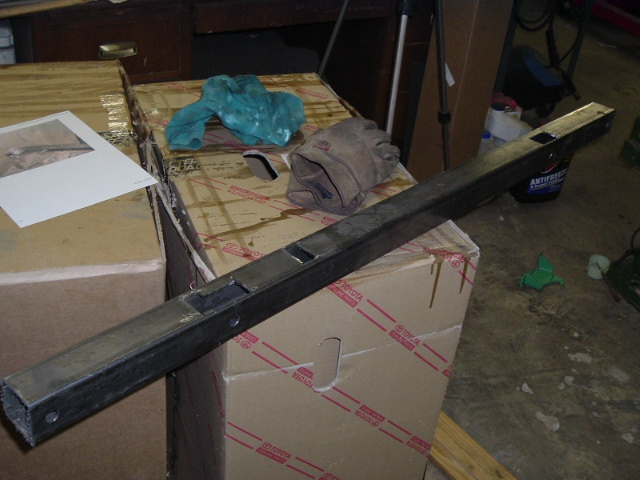
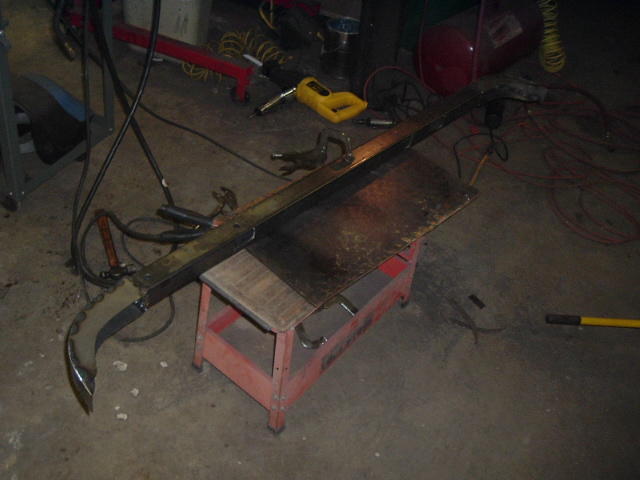
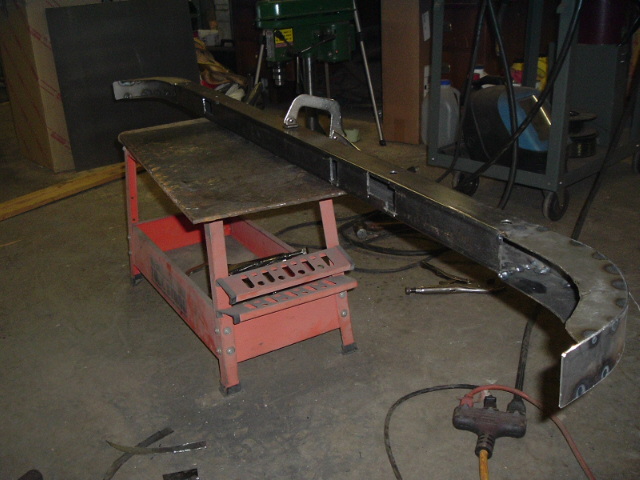
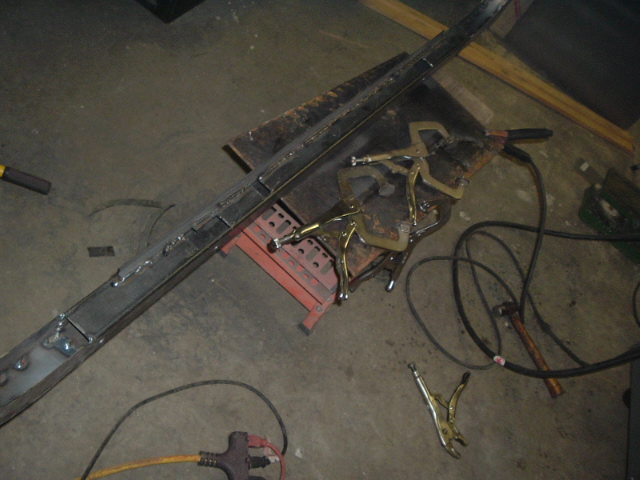
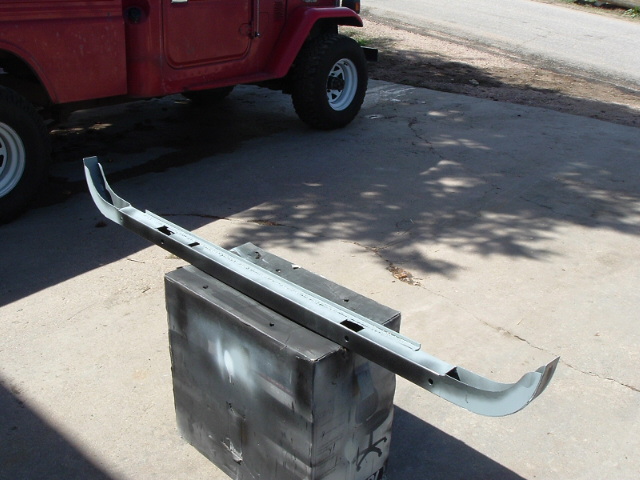
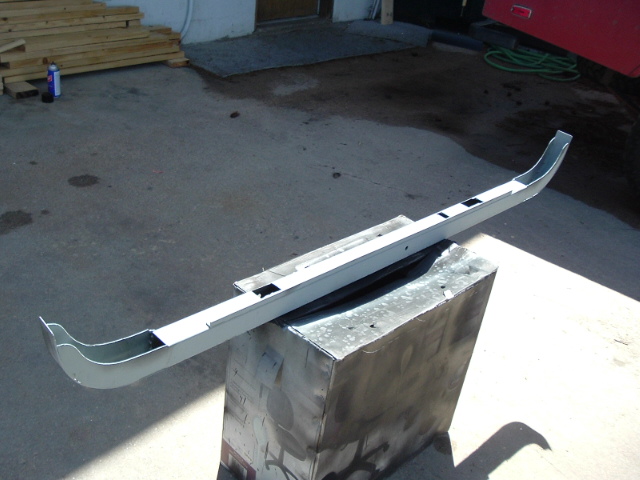
Here are a couple views of the finished 2x2.
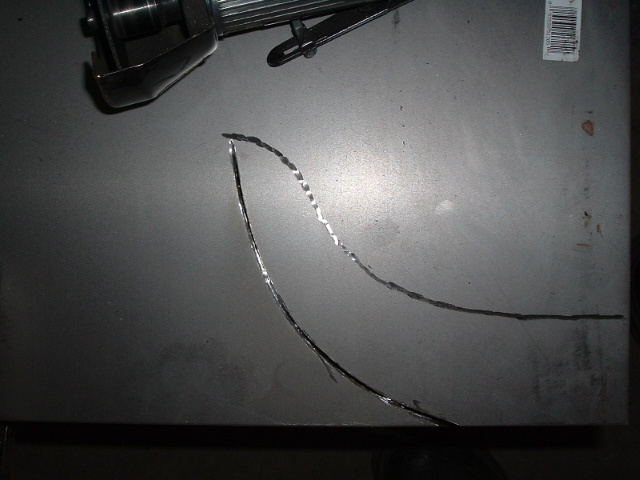
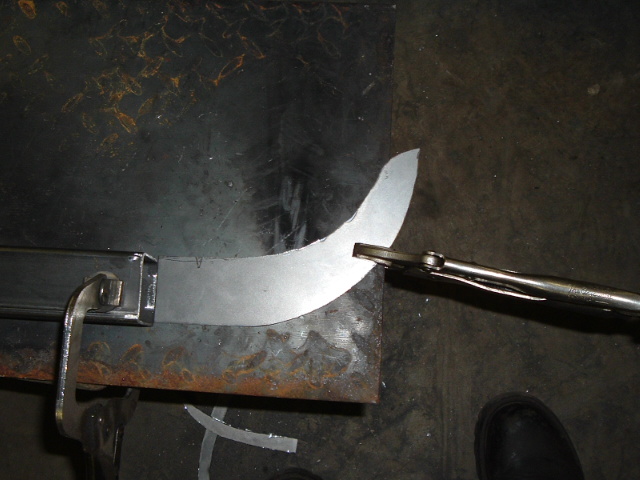
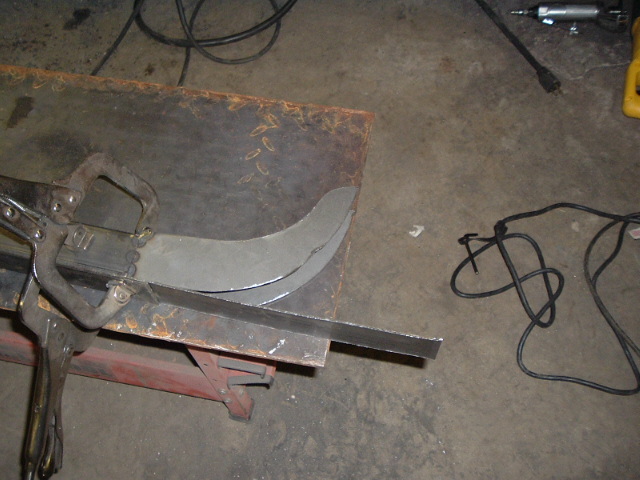
Since the "wings" of the sill were destroyed and the quarter panels over them were history, I had to make wings for my new sill. I used my CCOT rear channel on my nearby 76 as a template and cut out four pieces of 16 gauge sheet metal for the tops and bottoms of the wings. The second photo shows a completed piece being clamped for welding to the 2x2. The photo at the right shows where I cut some rectangular pieces to go on the outside, clamped, ready to start welding to the 2x2 and to the top and bottom pieces of the wings.
Below, you can see how I welded the wings together. It's not as pretty as Cool Cruiser's channel, but it's a heck of a lot cheaper. The total cost for the metal used in this project was under $20.
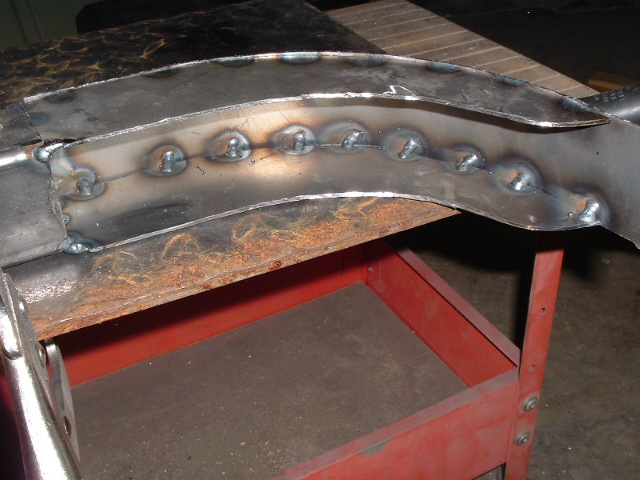
Below are some different angles of the completed channel. In the (porrly-lit) shot on the right, you can see where I added a length of 1/2" angle iron, to make sure that there would be ample area to weld the rotted rear of the bed to.
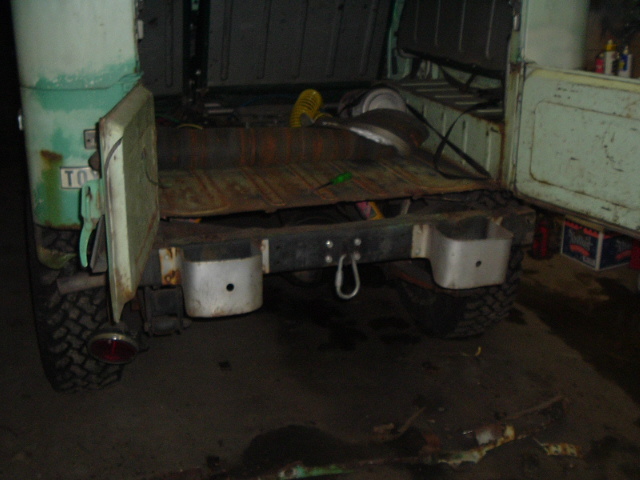
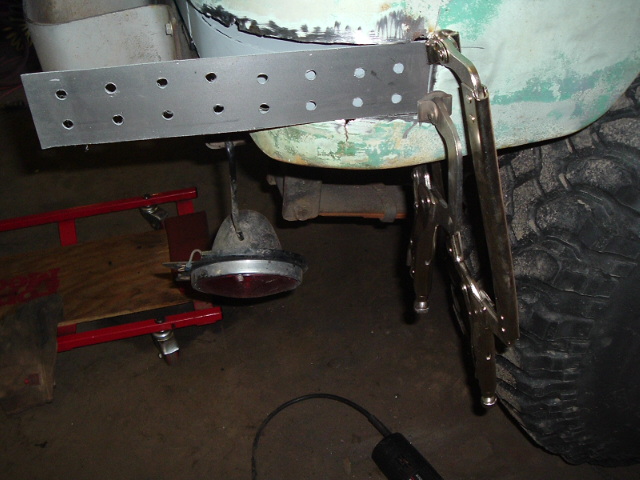
The moment of truth! A test fit. This was partly why I had cut out the old one before I was finished with the new one; I needed to make sure everything fit properly before I painted it and got too far ahead. But it fits perfectly!
After all the welding and test fitting is done, I took it out to my driveway for paint. All the areas that would be away from the heat of subsequent welding got two coats of Zero Rust, while those that would be subject to heat got weld-through zinc primer.
I had to replace the metal where I had cut out the rotted sections of quarter panel, so I fashioned a couple of rectangles out of 16 gauge sheet steel. The holes are to weld to the outer skin of the channel wings. By using holes like this, you can emulate the factory spot welds without having too much weld bead above the surface to have to grind down. It's a neat technique my buddies at the local body shop turned me on to.
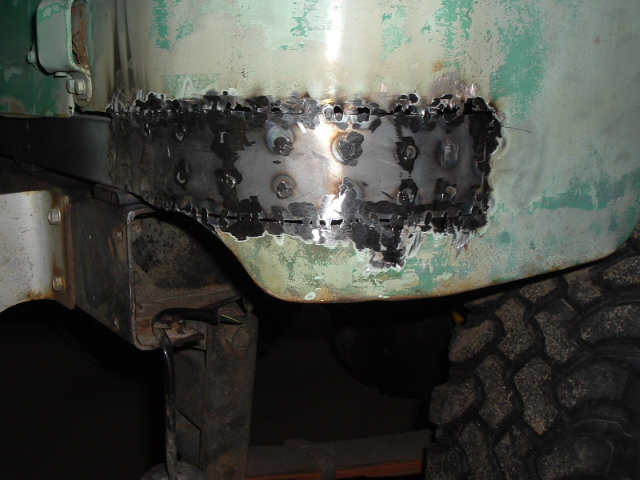
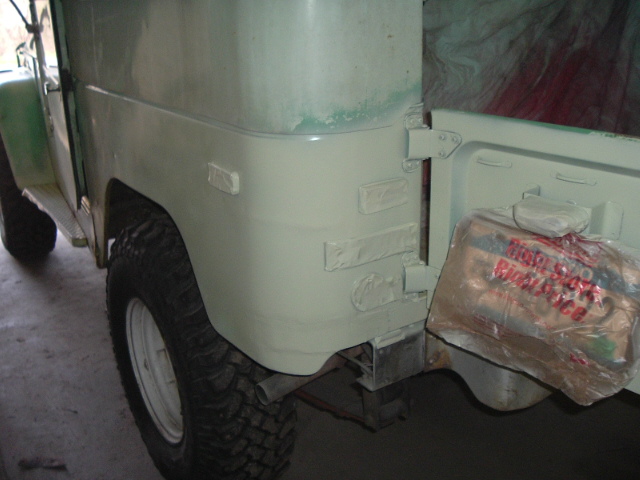
Welding the new quarter panel patches in. You can see how the holes are filled with the welds. I did have some issues with the welder blowing a few holes in the remaining quarter panel metal where it was rusted thinner than the new sections, but it is strong and structural, and body filler will take care of the holes. As with all welding work where it will be seen on the outside, grinding the welds flush takes at least as much time as the welding itself.
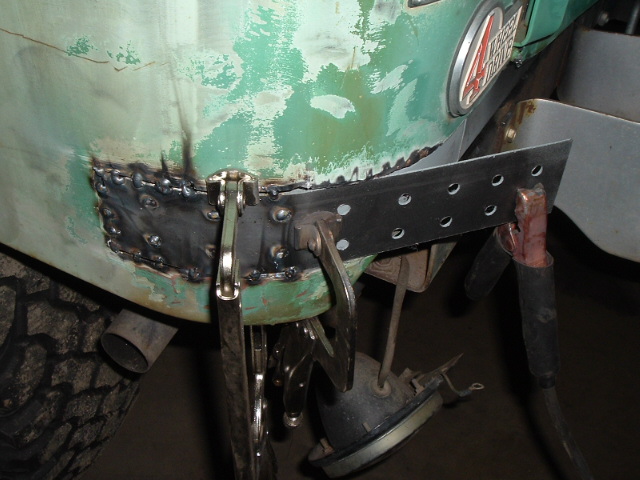
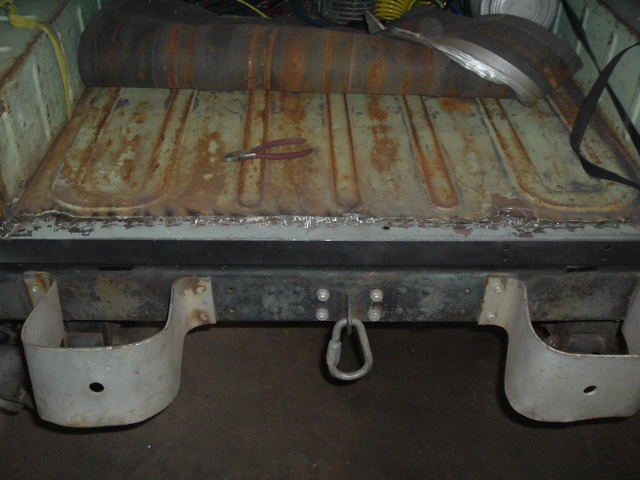
Below, you can see where the rear of the bed is welded to the new sill. It was this step where I was glad I had added that extra section of 1/2" angle iron.
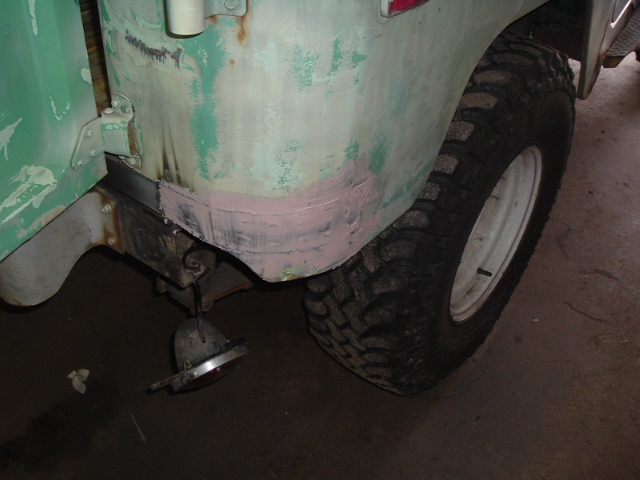
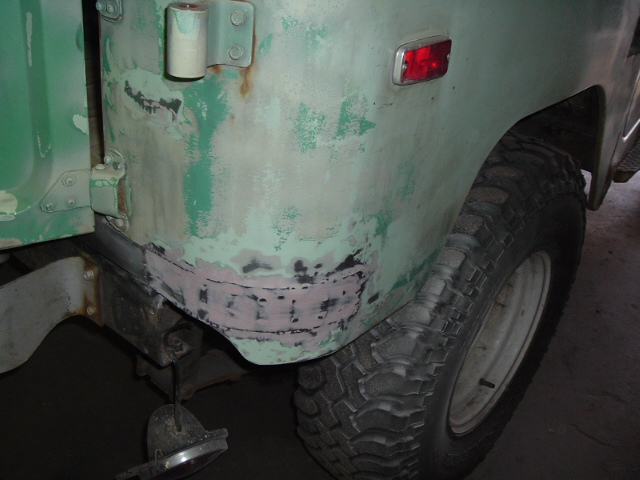
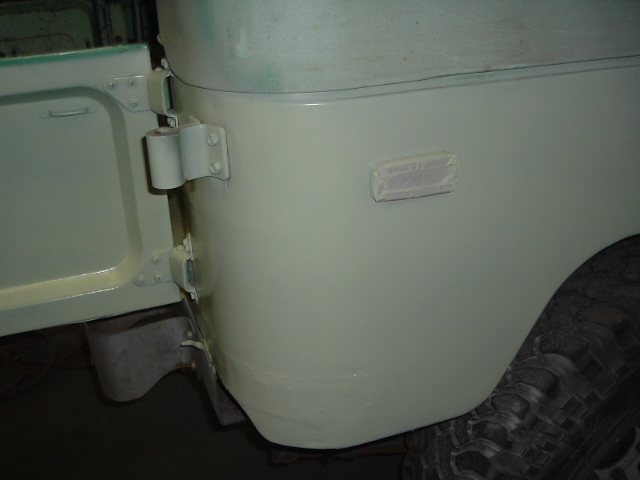
As mentioned, body filler is used to smooth over the welded seams. After the body filler is applied and allowed to harden, it is sanded, then reapplied and sanded again. I went with two layers, but should have used more if I had been more interested in appearance. As it ended up, you can tell where the wings and new skin are by discontinuities in the appearance of the painted quarter panels, but this is a trail truck, not a pristine restoration.


I did a little bit of masking, some scuff sanding and then a couple coats of Krylon rattle-can in their "Celerey" color, which is the closest rattle-can color to the factory color.
All done! I was going to repair the rocker panels too, but this one-day project ended up taking three full days. With only a few more days to Moab, I decided that project would have to wait for another time.