The Land Cruiser Restoration Project
Page 1 2 3 4 5 6 7 8 9 10 11 12 13 14 15 16 17 18 19 20 21 22 23 24 25 26 27 28 29 30 31 32 33
September 11, 2001
A day that will live in infamy in everyone's memory. Instead of staying glued to the TV set, I decided to fight back against terrorism. This project has been delayed, stretched out and otherwise taken WAY longer than I ever envisioned, but I wasn't about to let a handful of low-life towel heads screw up my day. Or evening as was the case. This was the day to drop the 2F back into the frame!
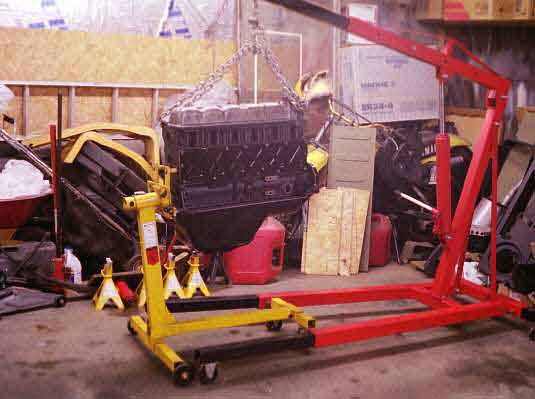
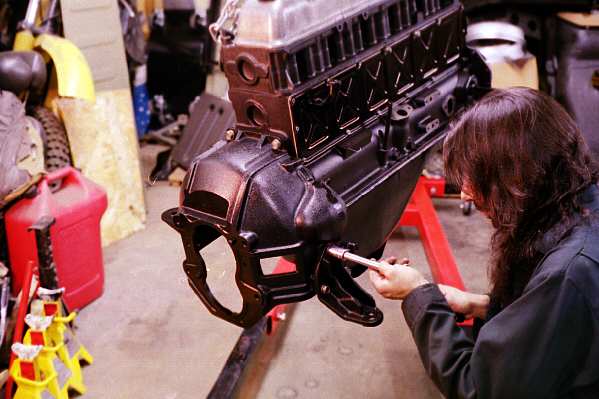
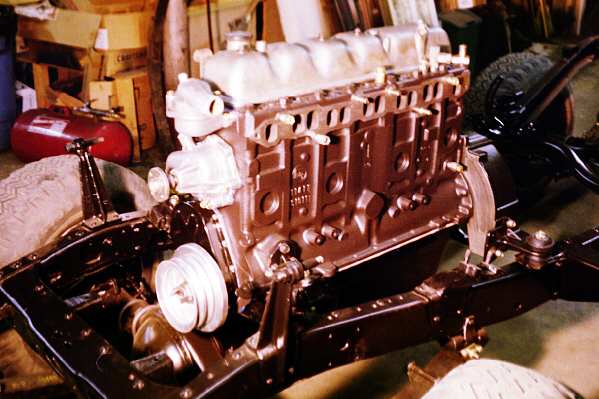
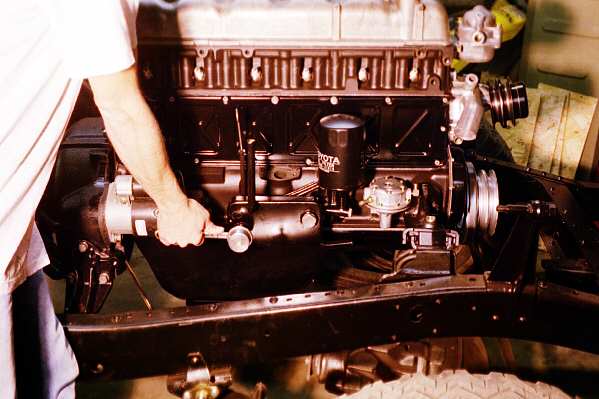
The first order of business was to lift the weight up and unbolt the engine from the engine stand. Note the chains hooked around the hooks on the front and back of the head. The front one stays on, but with the later exhaust manifolds, the only way the rear one can attach is when the manifolds are not connected. After the engine is dropped into the frame, the rear one has to come off to make way for the manifold.
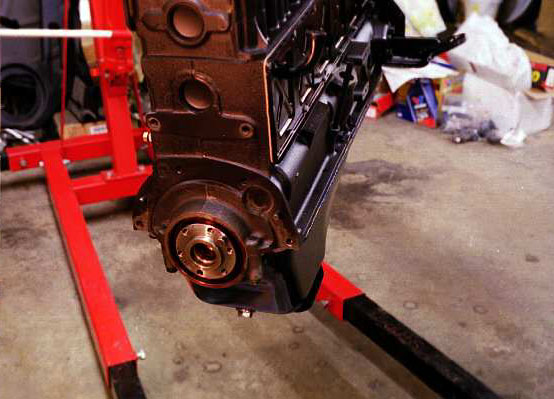
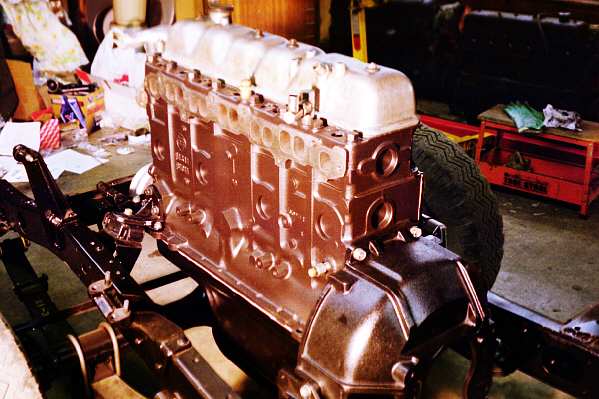
This photo shows a good view of the rear of the crank before the rear main seal is installed. The front motor mount "ears" have been bolted up here though.
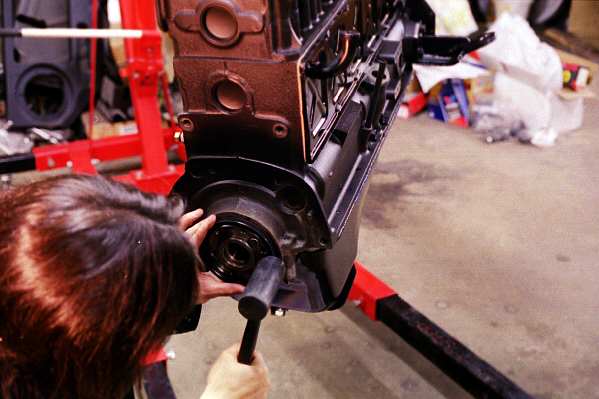
Since I don't have any true "SST"s, I use a soft faced rubber mallet to gently drive in the new rear main seal. Smear all the mating surfaces with a thin film of multipurpose grease first to help everything slide in more smoothly.
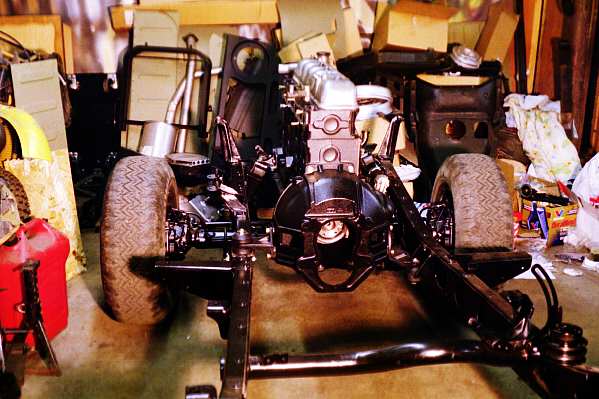
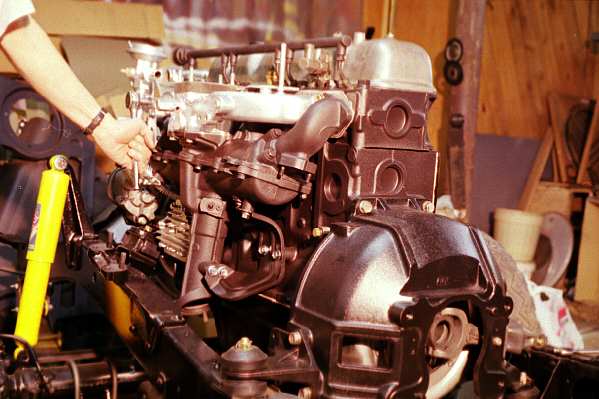
Next I had to bolt up the bellhousing, and then the motor mount "ears". After this, the chassis was manuevered up underneath, and the engine lowered gently onto the brand new Toyota rubber mounts.
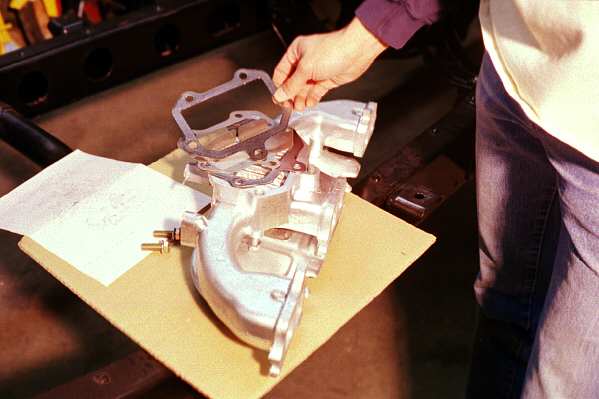
After the engine is setting back in there, I can start bolting up ancillaries. The crank pulley is torqued back on, as is the thermostat housing and thermostat. Note the top gasket, called an o-ring in Toyota parts language. It goes on top of the thermostat itself, before the top half of the housing is bolted up. If you leave it out (and lots of people do), the engine will never get up to proper operating temp in a reasonable amount of time, because coolant is constantly bypassing the thermostat past where this gasket is supposed to go.
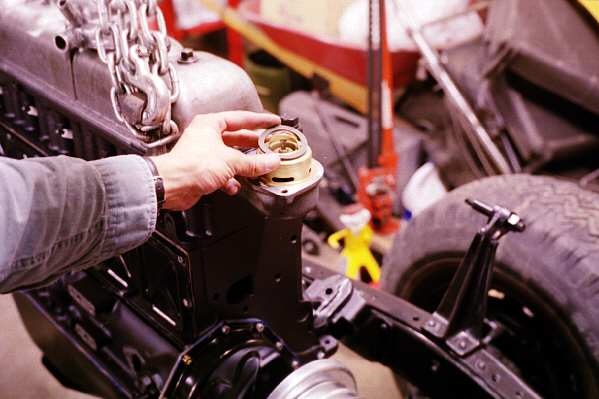
after the gasket is installed, bolt the top half of the housing back on using the larger paper gasket between the halfs.
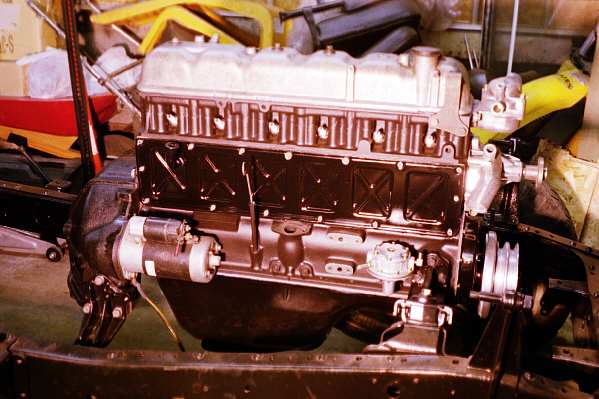
Next, the brand new OEM fuel pump was bolted up. The starter motor was almost brand new, as was the water pump. They had been cleaned up during the rebuild, and new bolts were used to secure them. Spark plugs were installed, and the motor mounts were secured with brand new OEM hardware. The ground strap for the starter was rebuilt, as these have been discontinued from Toyota.
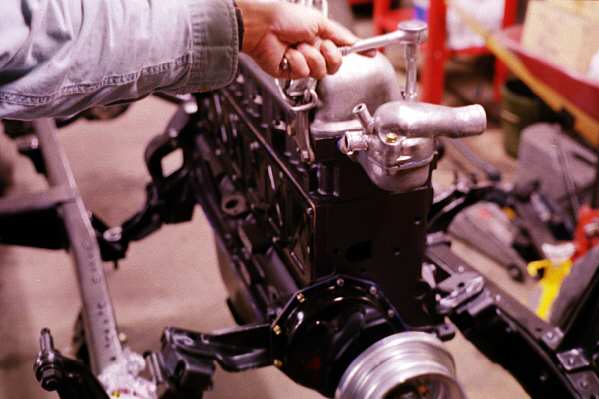
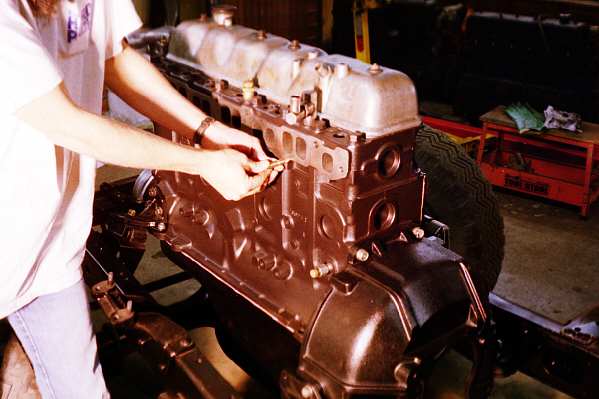
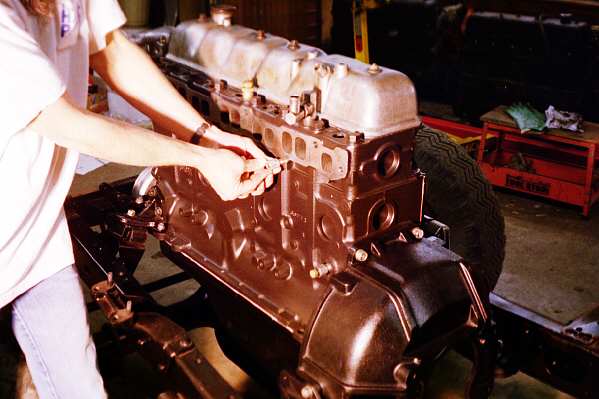
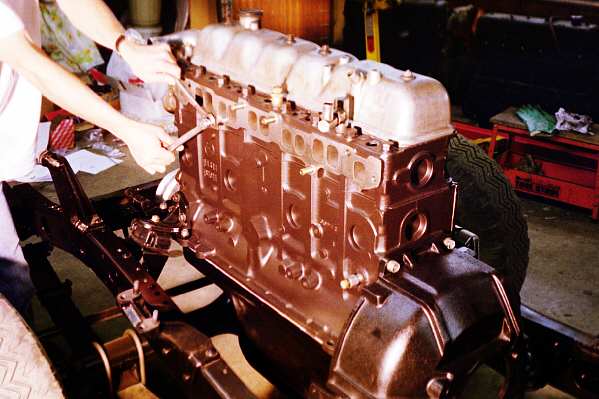
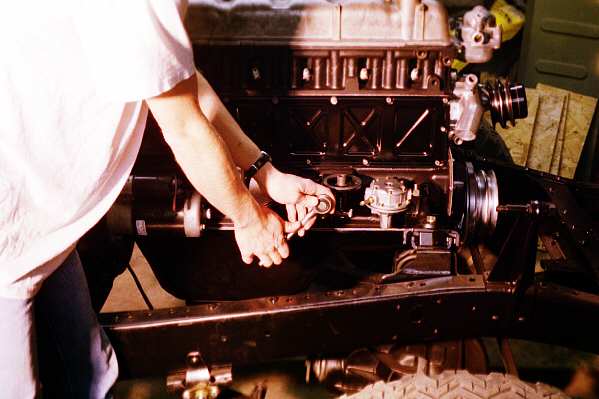
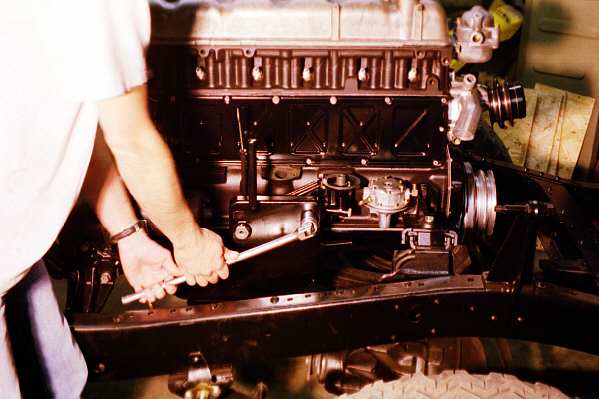
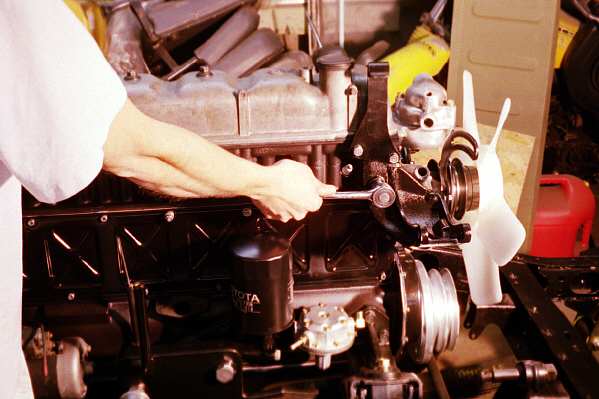
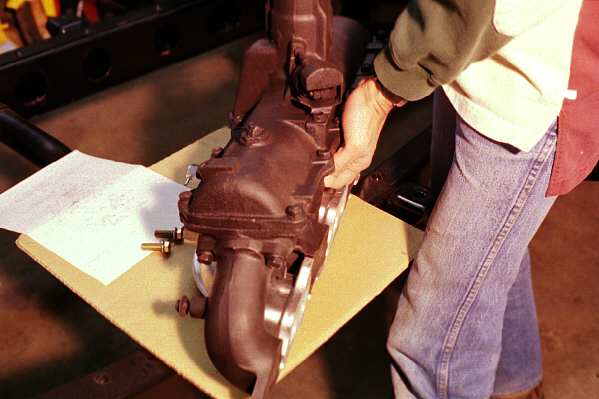
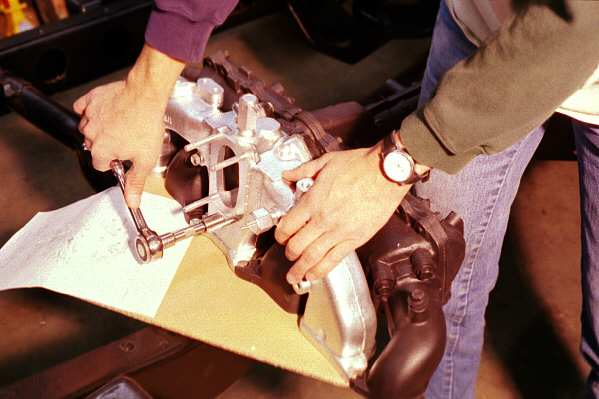
These next four photos show how to install studs using the double nut technique. The manifold studs, like most studs used on Land Cruisers, are installed with the shorter threads into whtaever they are to be based into. Then you take two nuts, thread the first one in to just before the unthreaded part of it contacts the nut, and thread the second nut on. Take two wrenches, and tighten the two nuts on to each other so that they are effectively "jammed". Now take a wrench and tighten the stud into the hole, in this case it is the manifold mounting for the cylinder head. Then put the two wrenches back on to the two nuts and loosen them from each other. Take the nuts off by hand and move on to the next stud to be installed.
Just like it was in the Araco factory as it was being built the first time around.
Next up is to install the oil filter bracket. It was a PITA to get new bolts for this, they are "officially" discontinued from Toyota, but fortunately I was able to get replacements from Toyota that were the same thread pitch and length.
Next is installing the stock oil cooler. These didn't make their way onto federal spec. Land Cruisers until 1979 or so, but CA spec. started using them with the 1976 model year. The cooler itself has o-rings which seal it to the oil filter bracket, and there are copper washers such as you'd find on brake bajo fittings under the hollowed out mounting bolts, which allow oil to pass through them.
Next, the oil pressure sender is tightened down onto the lower rear cooler bolt.
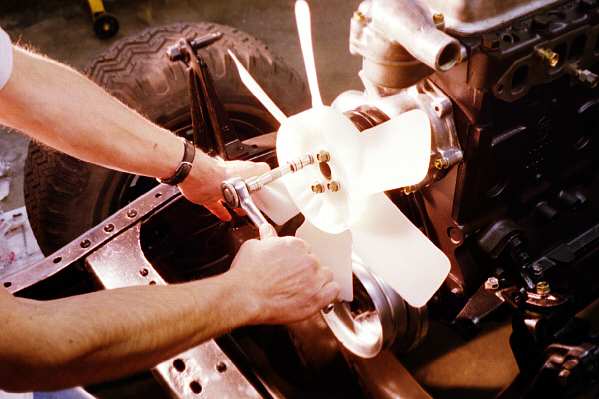
Nothing like new OEM parts. I would have cleaned up and re-uesed my old fan, but there was a good sized divot out of one of the blades, and I figure with all this nice new stuff, only way to go is new. Anybody need a stock fan minus a divot as a trail spare? Didn't think so...
Next was the alternator bracket. Turned out I had to take it off again to snake the fuel hardlines up in there.
My old "insulator" between the exhaust and intake manifolds was history when I separated them for refurbishing. Turns out the insulator is discontinued from Toyota, but Spector Off Road had a couple in stock. It was $46 plus shipping, about the same had my local Toyota dealer been able to get it in. A gasket, each identical, goes on each side of the insulator. The gaskets are $15 each!
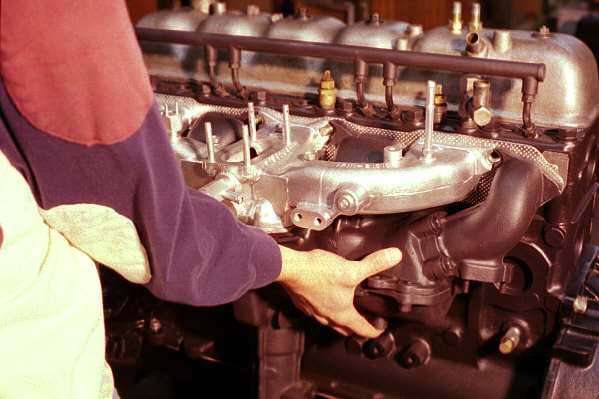
Next, gently lift the manifolds on to each other. Thread the bolts together, but do not tighten all the way.
Then, lift the manifolds onto the studs, already installed. Obviously, it is WAY easier to to work like this with the body off!
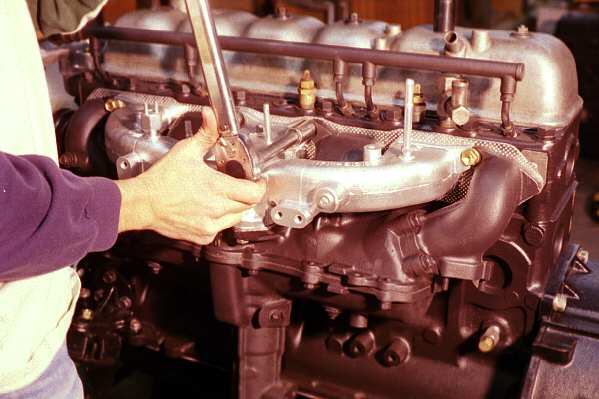
Torque down the manifold nuts and bolts (there are bolts at each end, studs in the middle four positions) to about 30-33 foot pounds. F manifolds use smaller 10mm studs and 27 foot pounds or so is what you want for an F.
Installing the EGR system. The OME shocks, the exhaust manifold support bracket, the resurfaced flywheel, new clutch pressure plate, new friction disk, refurbished release fork, Koyo bearings, brand new OEM rubber fork boot, brand new OEM slave cylinder and the sand blasted and heat painted air injection rail have all been added at this point. I used liberal amounts of anti-sieze on the threads of the air injection rail nipples.
Page 1 2
3 4 5
6 7 8
9 10 11
12 13 14 15
16 17 18
19 20 21
22 23 24
25 26 27
28 29 30
31 32 33
home what's new cruiser links trail reports cruiser sightings land cruiser tribute tech tips photos maps band links misc links profile email