The Land Cruiser Restoration Project
Resto Home Page
Page 1 2
3 4 5
6 7 8
9 10 11
12 13 14
15 16 17 18
19 20 21
22 23 24
25 26 27
28 29 30
31 32 33
Many months went by, while I worked on other projects. My friend Wayne from Calgary visited in January 2003, and we put the nose cone together. Unfortunately we didn't take any photos of that. We then tried to clean up the threads I buggered up on the back or the output shaft, but every time we tried threading a nut on it would try to get cross threaded. After a while he turned to me and said "Too bad we're not in my shop, I have a couple output shafts just lying around." I asked him how much he wanted for one, and he said he'd just send it to me, no charge. So I waited. After several months elapsed, he emailed and said that the ones he had were for 3 speed t-cases, not 4 speed. So I mulled my options. I tried working on the threads again, and put out a call on the Land Cruiser Mailing List to see if anyone had one lying around. No response.
Time went by and soon it was close to Cruise Moab 2003. I had to prepare one of my other cruisers for that. While I was there at Cruise Moab, I got to know an Associate member of Rising Sun, Jim Sanville. Jim runs a 4x4 shop in Canon City, and is able to source a lot of high quality cruiser parts from aftermarket suppliers. We talked about my output shaft dilemma, and I made up my mind that I was simply going to buy a new one. For $100, Jim got me a new shaft from Seamaster, the same Japanese manufacturer who made the replacement high speed gear and shift collar that I had already procurred.
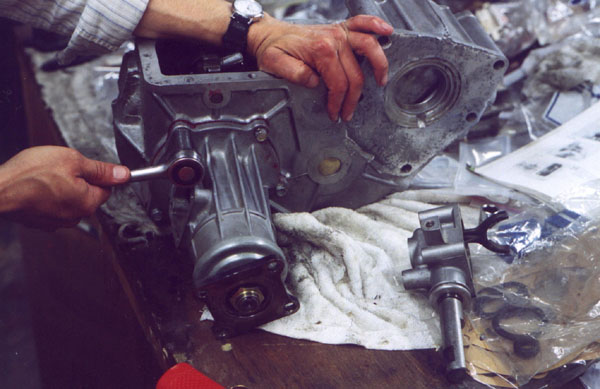
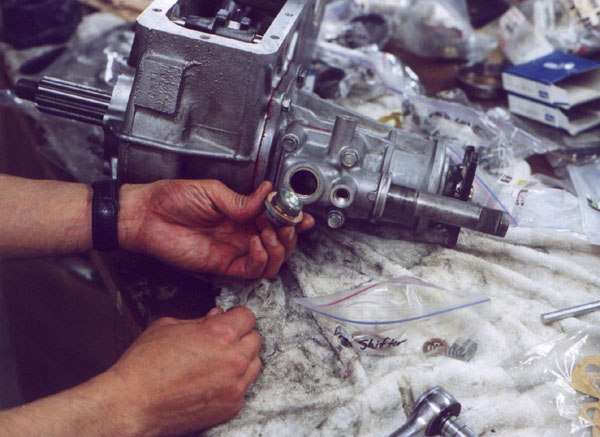
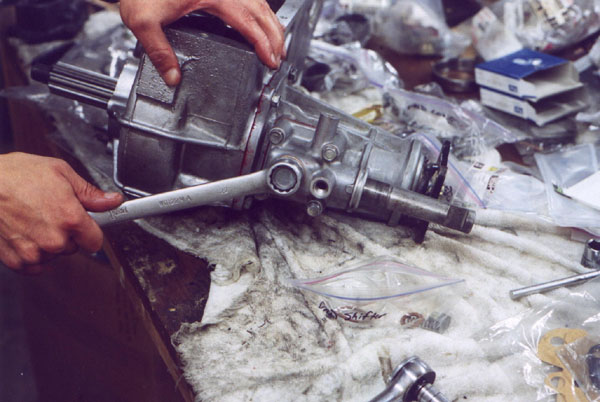
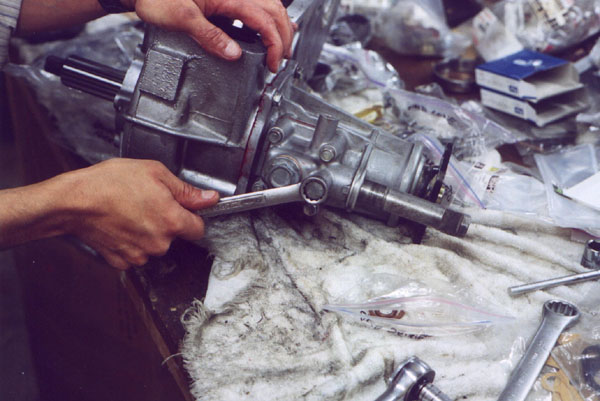
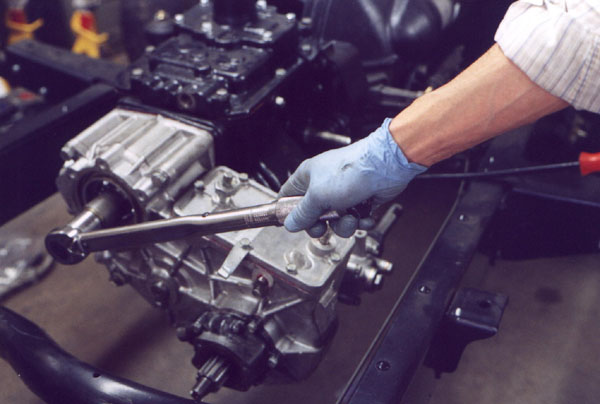
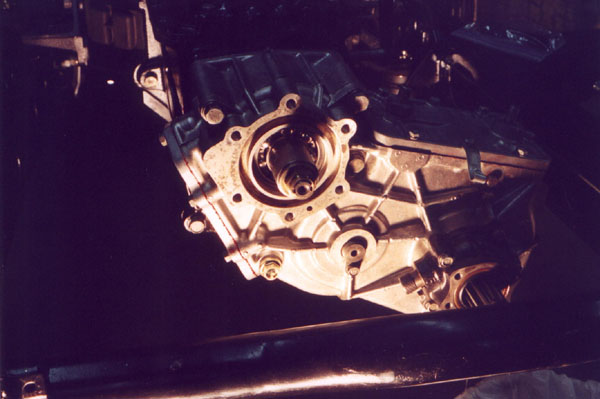
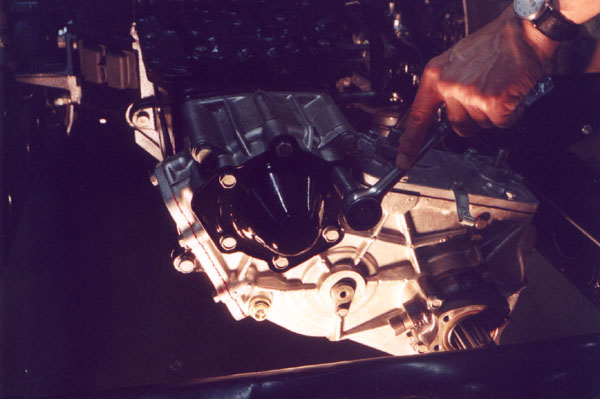
After the shaft arrived, I was anxious to get this project back on track, and set about reassembling the t-case the very next day. I was so excited to be making such fast progress I forgot to get the camera out until I had already put the output shaft gear cluster back into the case, and was putting the nose cone on. In the first three photos below, I am tightening down the nose cone bolts, then installing the front drive fork. I used a bit of grease on each side of the paper gasket.


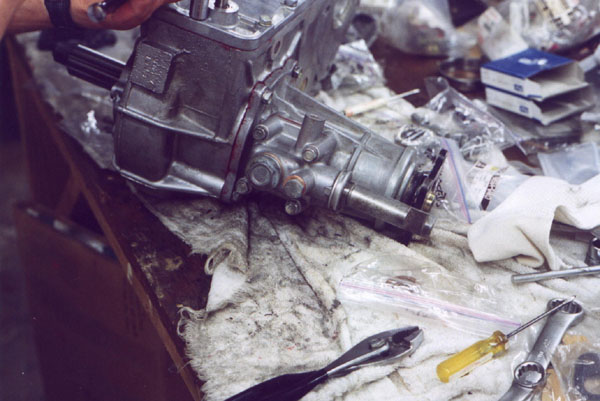
In the next four, I am installing the access port plug, and the shift detent ball, spring and plug. On the far right, I am tightening down the top cover for the hi-lo shifter pivot, but it looks like the camera was not composed properly :-)
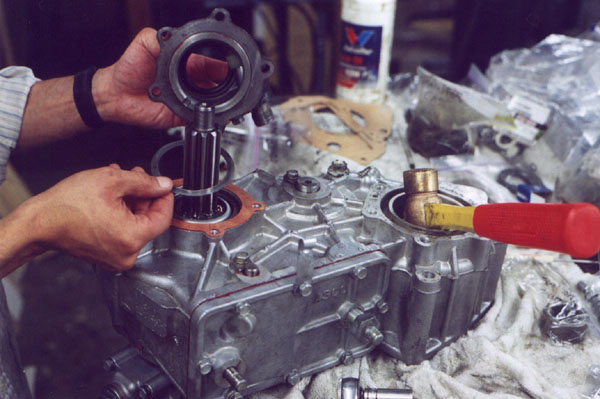
The next photo is fairly important. Remember on the previous page where I talked about the shim setting the preload for the tapered roller bearings? Well, here is the shim and the speedo gear housing. The shim goes between the housing and the rear outer bearing race, and when the housing is tightened down, it sets the preload for the whole output shaft cluster via the tapered bearings. I purchased an assortment of shims just in case the new bearings were different than the old ones, but the factory manual says to re-use the same thickness shim. In my case, the shim was 0.10mm (.004") thick. It turned out to be the proper thickness, but the only way to find out is to fully assemble it and measure the torque required to turn the mounting studs for the rear drive shaft yoke at the parking brake with a fish scale. Much later in the process, after I had re-installed the entire parking brake assembly, I learned that the preload was set properly with the original thickness shim. Had the preload been too tight or too loose, I would have had to disassemble the entire rear of the t-case and use a different shim. I was much relieved that I used the right shim the first time.
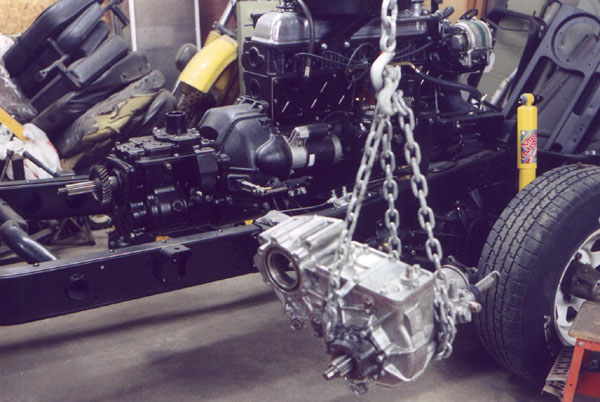
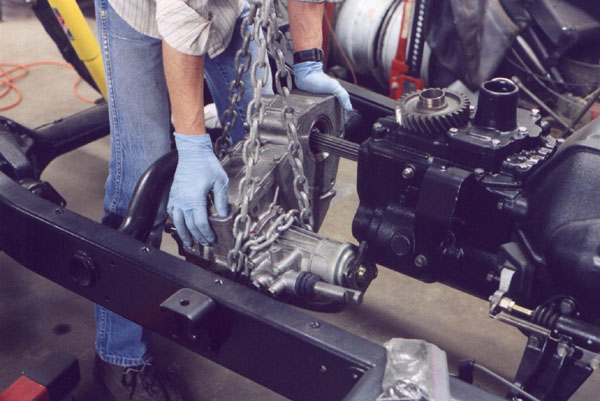
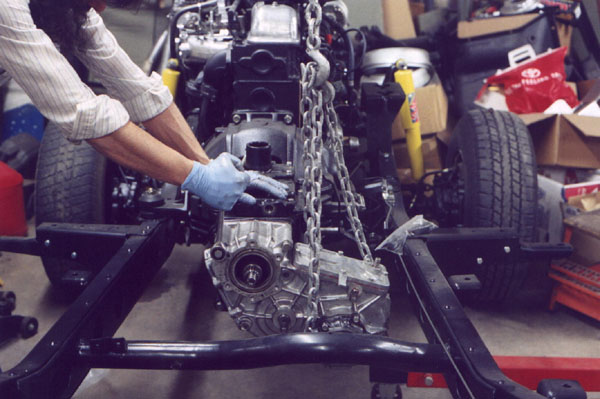
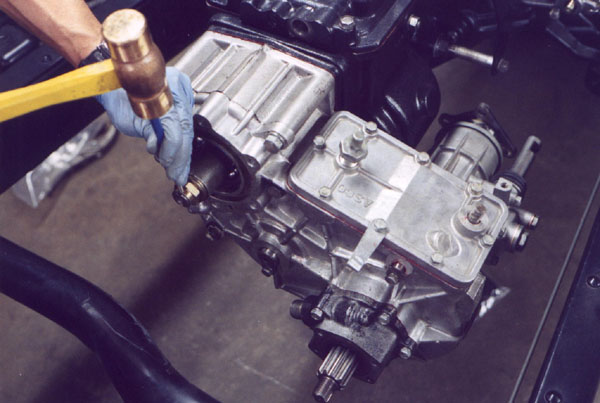
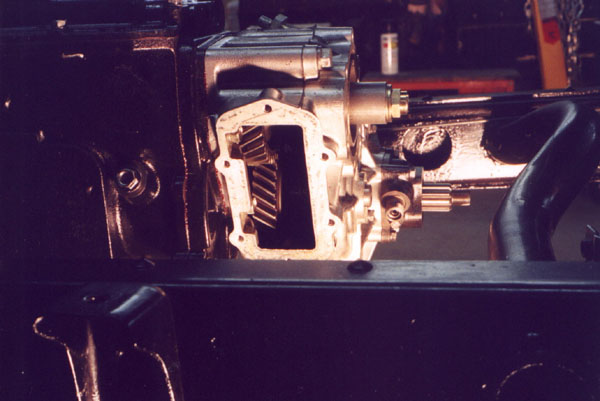
Now that the t-case is reassembled, I used the cherry picker to support the weight for installing it to the rear of the tranny. The t-case is not particularly heavey, but it helps to have the weight supported while manuevering it carefully. In the first photo you can see the input gear on the output shaft of the tranny. You have to first put the t-case partway onto the shaft, then insert the gear into the PTO access, then slide it and the spacers onto the tranny output shaft. The order that the spacers go on is: First there is a short, thick spacer. This must go on the shaft up against the back of the tranny before the t-case is installed. Next you put the t-case partway on and put the gear onto the shaft as I mentioned. Then the longer of the two remaining spacers goes onto the shaft behind the gear. Next, the rear bearing goes onto the shaft and is driven in. I used an SST made from a length of 1-1/2" pipe which fits perfectly onto the inner bearing race to drive the bearing into the case. Next comes the shorter of the two long spacers, then the thick flat washer, and finally the stake nut to hold it all together.
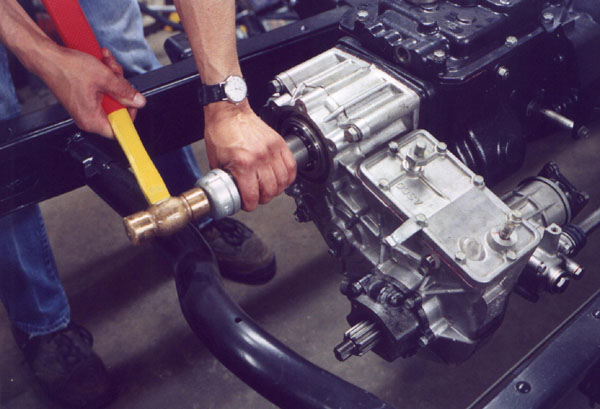
In order to torque the stake nut down I had to prevent the shaft from turning. So I took two long bolts and put nuts on either side of the front driveshaft yoke, engaged the front drive and used a long pry bar to hold the assembly from turning while I tightened the nut. After the nut was torqued down, a pin punch is used to stake it to the grooves in the shaft.
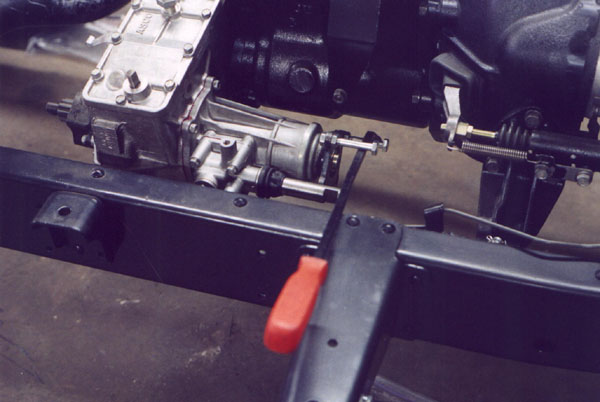
Next I replaced the PTO cover, using grease on both sides of the gasket. For the gasket for the output shaft cover, I used blue permatex. This helps make the gasket easier to remove the next time the cover has to be removed.
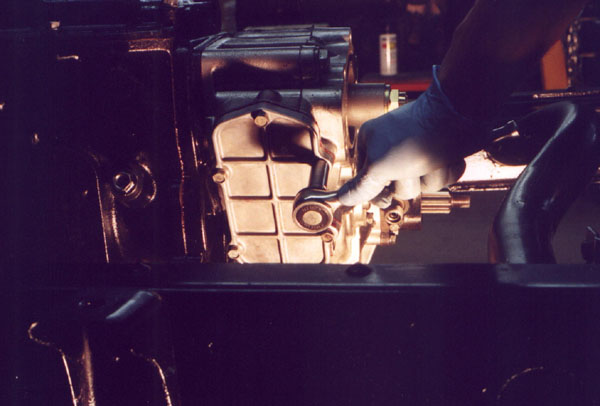

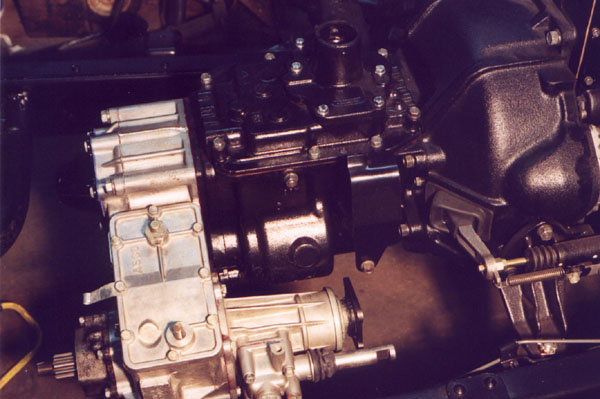
Below is a nice shot of the t-case reinstalled. Looks a lot nicer than when it was first pulled, doesn't it?
Page 1 2
3 4 5
6 7 8
9 10 11
12 13 14
15 16 17 18
19 20 21
22 23 24
25 26 27
28 29 30
31 32 33
home what's new cruiser links trail reports cruiser sightings land cruiser tribute tech tips photos maps band links misc links profile email