home what's new restoration cruiser links trail reports land cruiser tribute tech tips photos maps band links misc links profile email
The Land Cruiser Restoration Project
Page 1 2 3 4 5 6 7 8 9 10 11 12 13 14 15 16 17 18 19 20 21 22 23 24 25 26 27 28 29 30 31 32 33
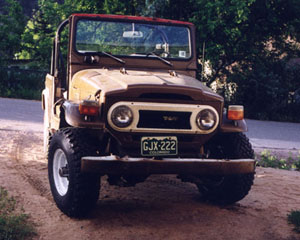
January 2001. Work on the restoration had to be postponed (again!) to turn attention to "Charlotte", my 1971 FJ40. It still was knocking (see my write up replacing the cam shaft, elsewhere on this site), was burning quite a bit of oil, had low oil pressure and low compression. I decided to replace it with another used F engine before it threw a rod or became otherwise unrebuildable. A suitable doner was procurred from Jeff Blumenthal of Austin TX, who was doing a V8 swap in his 1/17 FJ40. With only 2 months difference between the two powerplants it would bolt right in with no modifications.

I had been using the cherry picker to hoist the engine up out of the frame, then roll the chassis out to the driveway to sandblast the frame (in many sessions), then roll it back into the garage. Needing the cherry picker to swap the Fs in Charlotte, I used the chassis as a convenient spot to store the 2F while the cherry picker was being used.
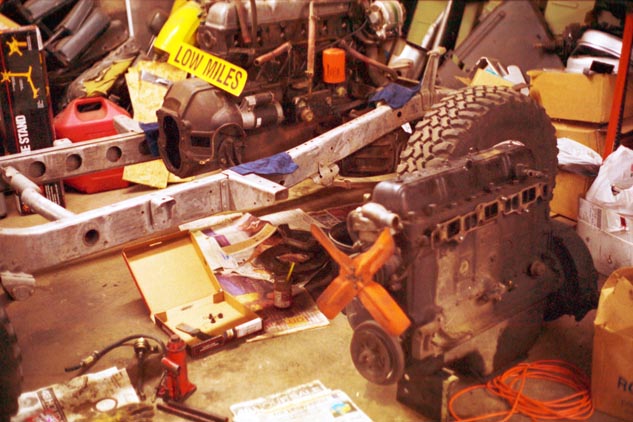
In these shots, you can see the old F engine from Charlotte setting on the garage floor next to the naked frame of the 76. The "Low Miles" sign came from Stevinson Toyota; Rising Sun meetings were held in their conference room, and occasionally they had some leftover sales souveniers for us. I thought this one would be kinda humorous.
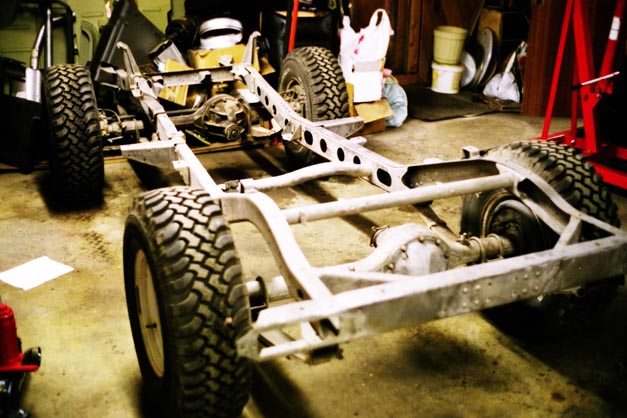
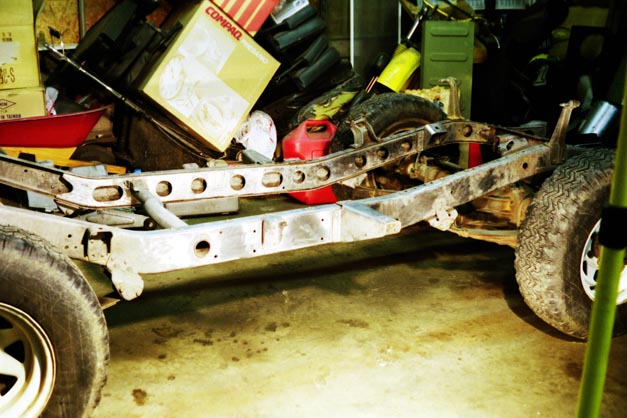
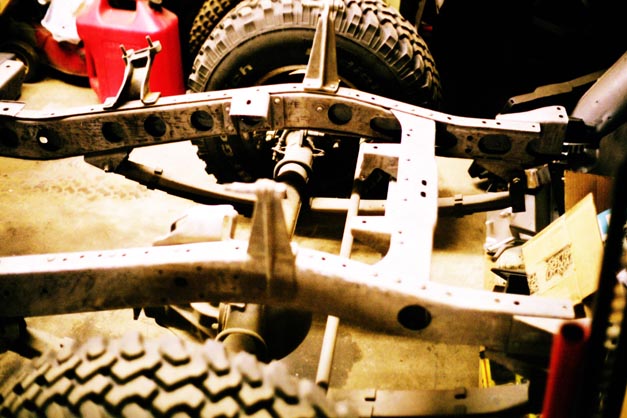
I used the last couple shots left from photodocumenting the engine swap to take these shots of the naked frame. At this point in time, January 2001, sanding was complete, and sandblasting was more than 90% complete. There were still a couple spots up in the front around the frame horns and front crossmember that were still left to shoot. Once the engine was installed in Charlotte and the cherry picker could be used to pull the 2F back out of the way, it was simply a matter of having decent weather, and enough light left on evenings and weekends. Seems like the good weather would always be on days that I had to work, then it would snow on weekends. But it did get done, just took a lot of perserverance.
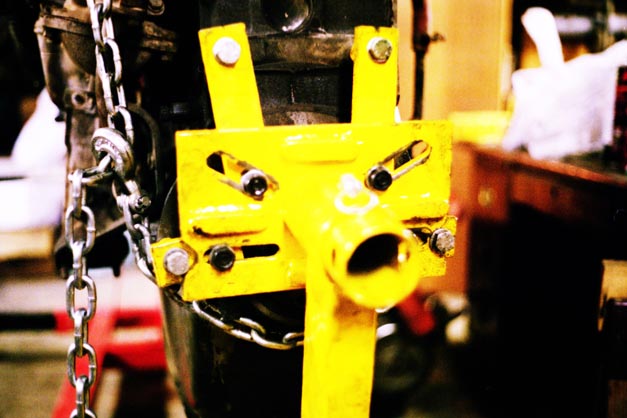
In this photo, you can see how I had to modify the 1000 pound engine stand that I got from Tool King to get the arms to line up with the bolt holes for the bellhousing on the back of the 2F. I had to cut the two lower arms short, then grind into the plate to clear the bolts. A word on these engine stands. They are the typical ones you see in places like Harbor Freight tools, and while rated for 1000 pounds, and an F or 2F weighing around 700 pounds or so, they are right at capacity. I believe they are more suited to shorter engines such as a V8. The long I6 cantalevers the end of it and it is kinda scary moving the thing around or working on it. If I had to do it over, I'd get a heavier duty one. They typically cost around $50.

Here you see how I got the Zero Rust inside the frame rails. Learning from advice I had seen on the Land Cruiser Mailing List, I used a toilet bowl brush. It worked great, and I feel confident that I got everything inside those rails with a good couple of coats. Should last for a very, very long time.
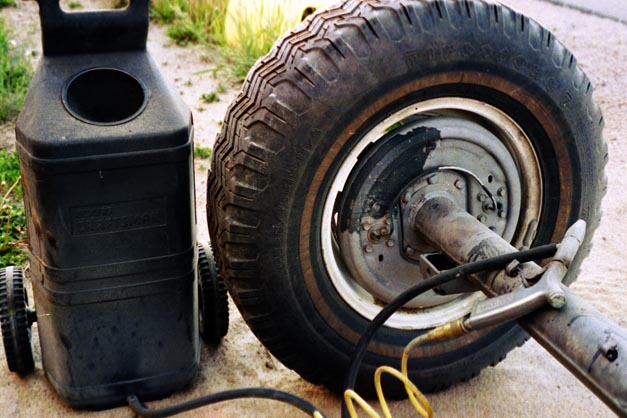
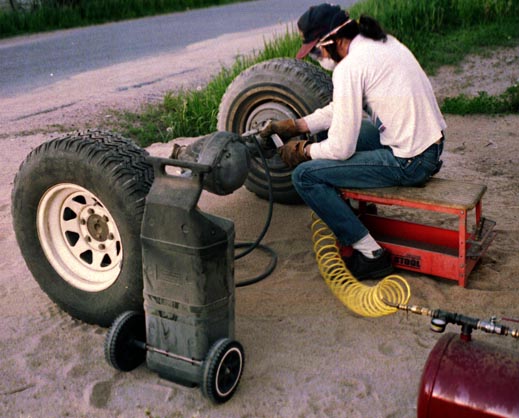
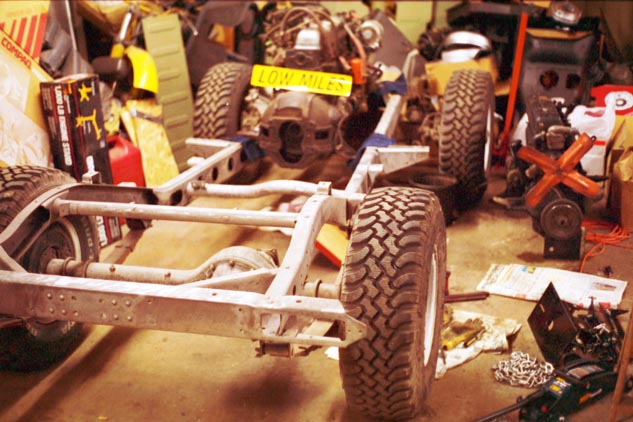
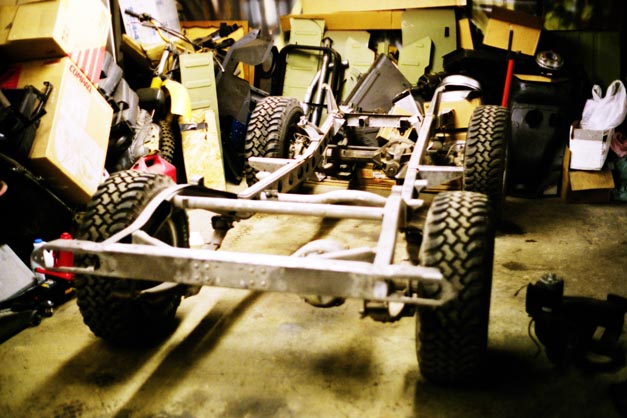
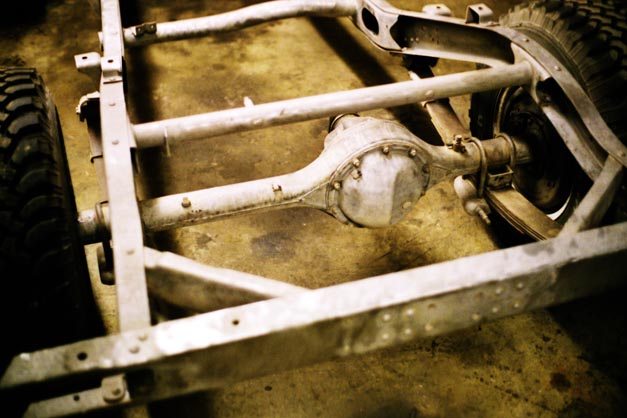
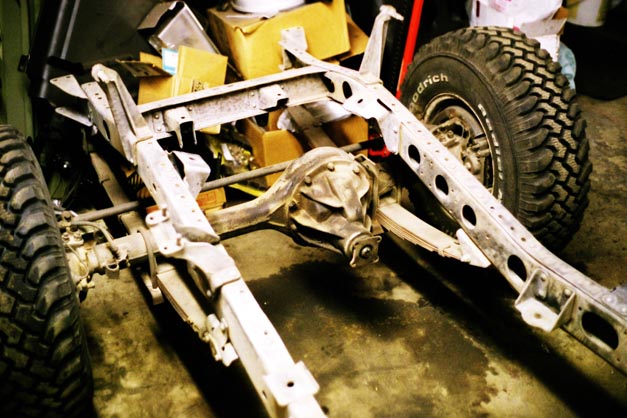
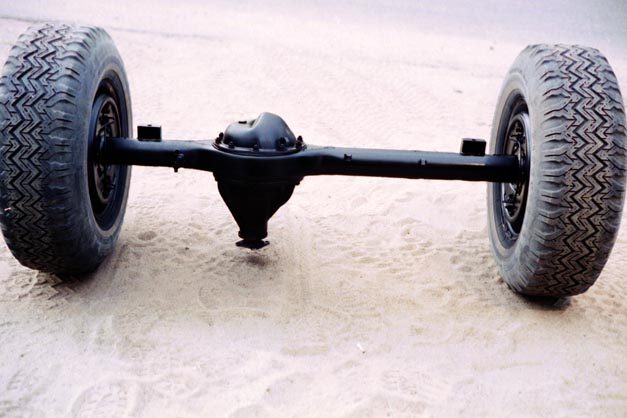
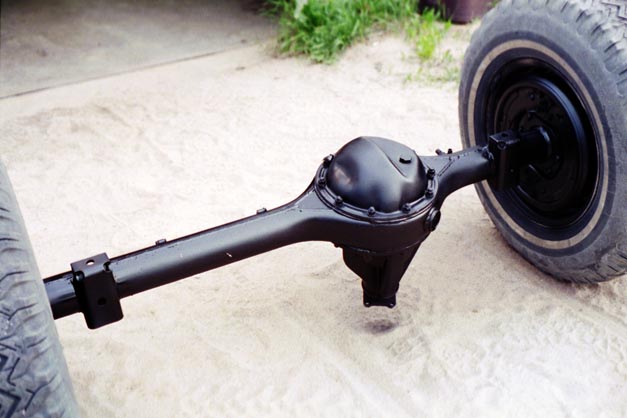
Next up is the axle housings. After 5 coats of paint on the frame, I removed the old suspension and put the frame up on four jackstands, then rolled the complete axles out to sandblast them prior to paint. I decided to leave them intact for now. The is really no difference in how hard it is to replace seals and bearings and such whether they are installed or not, so I simply left them to avoid getting sand and gunga inside while I blasted and painted.
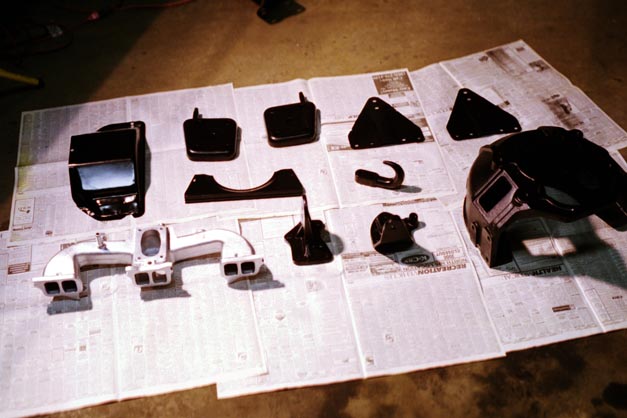
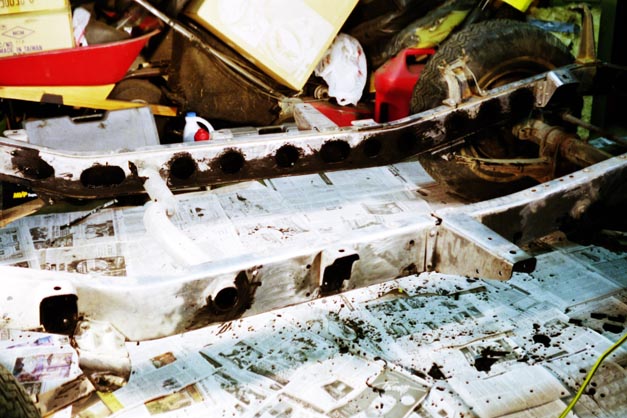
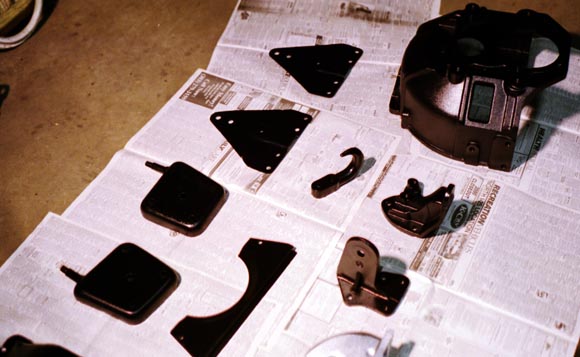
During this time I also sandblasted and painted lots of odds and ends that had been removed thus far. U-bolt plates, frame horn gussets, bellhousing and dust cover, tow hook and engine mounts were done. The shiny intake manifold you see is actually the original one from Charlotte, I like parts that have been cleaned and painted like new!
Page 1 2 3 4 5 6 7 8 9 10 11 12 13 14 15 16 17 18 19 20 21 22 23 24 25 26 27 28 29 30 31 32 33