Page 1 2 3 4 5 6 7 8 9 10 11 12 13 14 15 16 17 18 19 20 21 22 23 24 25 26 27 28 29 30 31 32 33
 Got a lot done the last few weeks, evenings past midnight and every weekend. "Free time"? What's that? Since the last bat-update, the windshield has been disassembled and cueued up ready for sandblasting...
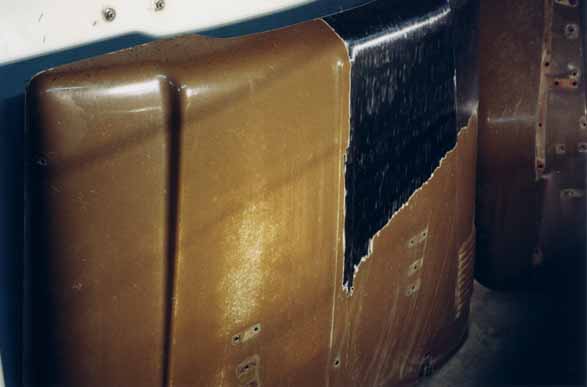 The hood pieces have been removed, sandblasted and primed, and the hood has been partially sanded...
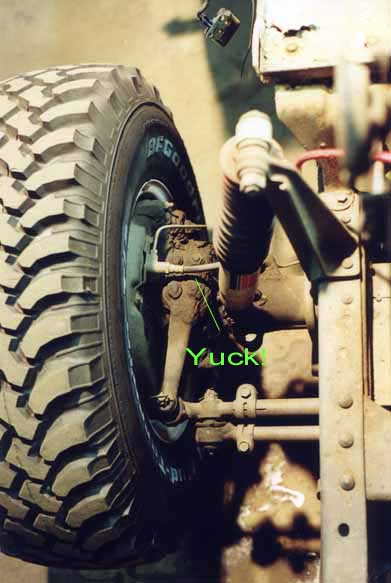 I took a photo of one front knuckles before I scraped the gunga off...
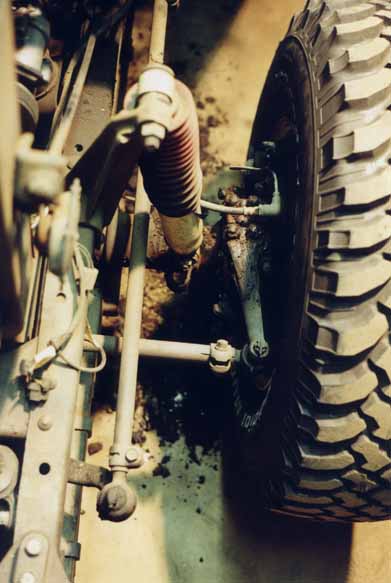 ...and after (other side)
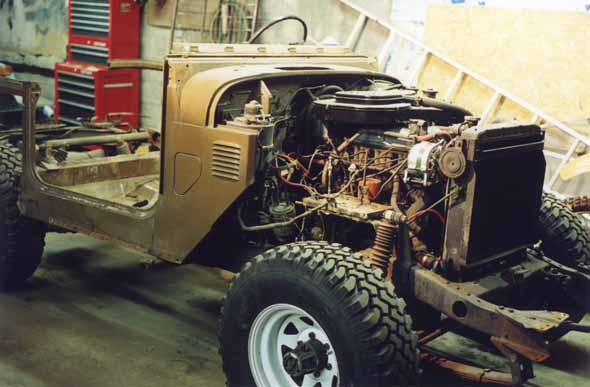
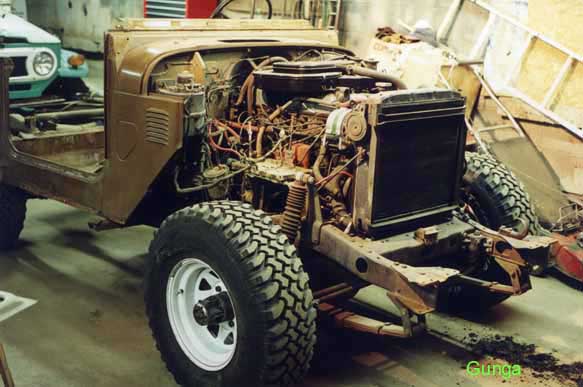 Removing the front aprons, bib, front bumper (thanks Ralph!),
  and fenders gives my beloved Land Cruiser a "monster" look according to one of my friends! Must be that horn on the side of the radiator that looks like an eye! I pushed it back a little to get the shot of the front end, you can just see the pile of gunga on the floor in front of the driver's side wheel.
 Many thanks to Ralph Forsythe for helping me!
 Another view of the same side,
 ...and then one from the driver's side.
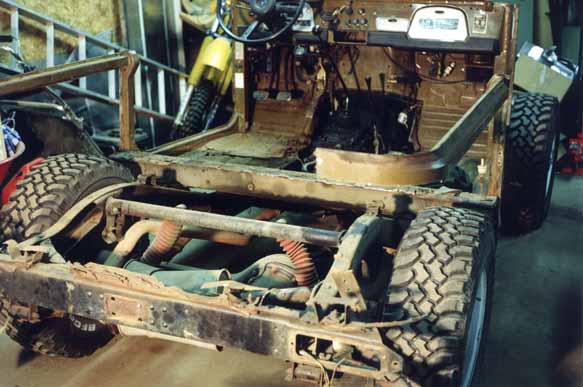 ...And one from the rear.
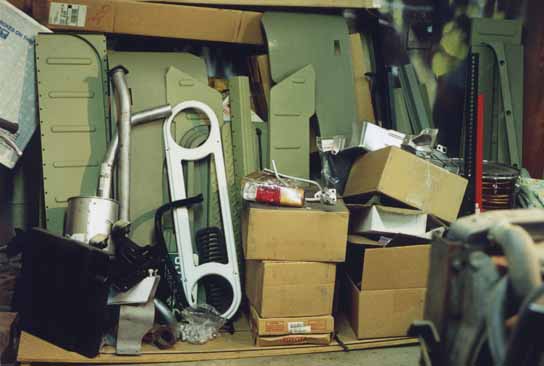 To do a project like this, you need a lot of parts. Heres a photo of my "big pile o' parts". The green sheet metal in the background is the new body parts from cool cruisers of texas, on the lower left you can see the new exhaust from Man-A-Fre, and there are dozens of parts that have been sandblasted to white metal, primed and ready for another 25 year's service...(That headlight bezel got donated to my '71, and now the '71 bezel is in the cue to be sandblasted and repainted! :-)
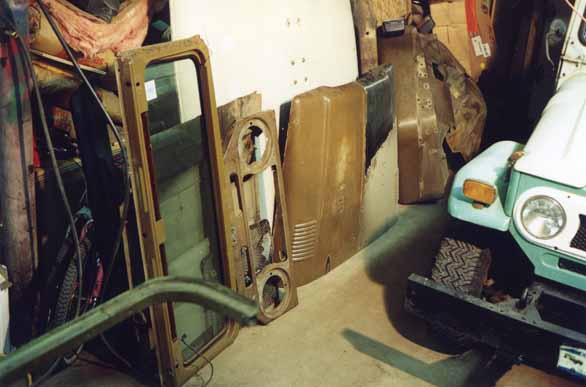
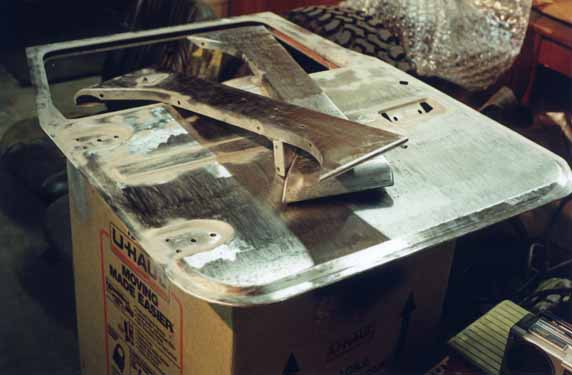 Here's a shot of the driver's side door and both aprons, stripped to bare steel but in the cue for final prep. This is a combination of sanding first, then sandblasting where you can't reach with a sander. They will each be ready to prime soon. Josh, I don't know if you remember what the box looked like, but that is the box that you shipped me those rear jumpseats in. As you can see, it is getting a much more honorable use than a 27" TV set! And yes, Ralph, I did finally get those front turn signals off. Kinda broke 'em in the process, but sometimes you do what you gotta do! LOL!
Since these photos were taken last week, the radiator has been removed, the hood hinges, coolant reservoir bracket and windshield washer reservoir bracket have been sandblasted, and the radiator shroud was partly sandblasted. Then the Sears Craftsman air compressor decided to die on me, so no blasting, no air tools. It's still under warranty, but I don't know how long it will be in the shop. :-(
Page 1 2 3 4 5 6 7 8 9 10 11 12 13 14 15 16 17 18 19 20 21 22 23 24 25 26 27 28 29 30 31 32 33