The Land Cruiser Restoration Project
Resto Home Page
Page 1 2
3 4 5
6 7 8
9 10 11
12 13 14
15 16 17
18 19 20 21
22 23 24
25 26 27
28 29 30
31 32 33
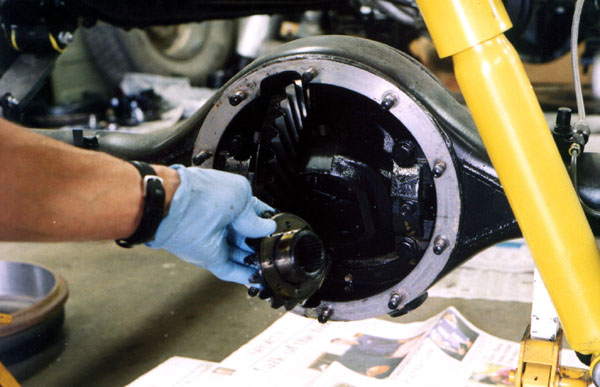
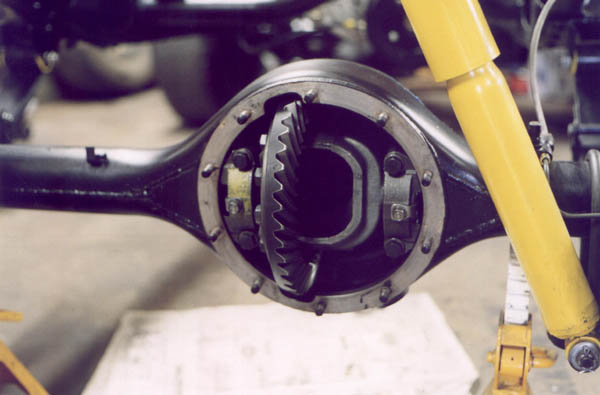
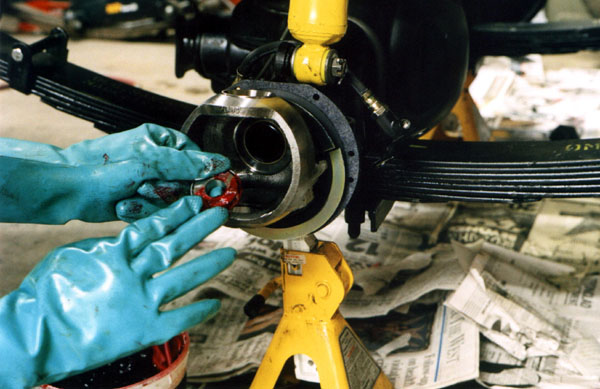
This page is basically a continuation of the last page, and the next page goes with it too. I just didn't want to put too much stuff on one page. As part of the knuckle/diff rebuild, I had to take the rear diff out to put into the front and vica versa. Of course you have to take the axles out first. With the axles out, the side gears can be removed as shown below:
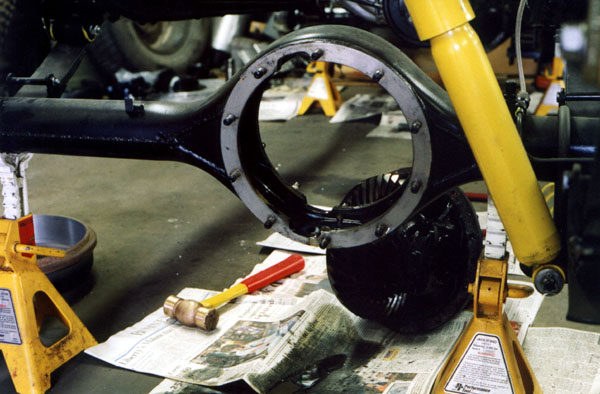
The axle housing is really clean. After all the diffs I have taken apart, I am amazed at how easily the gasket came off this one. The inside was also fairly clean, and only required wiping down.
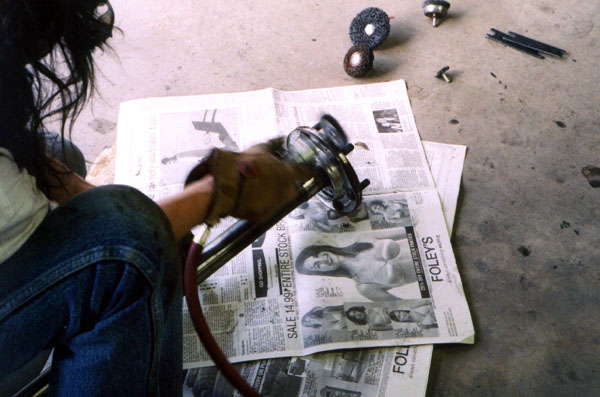
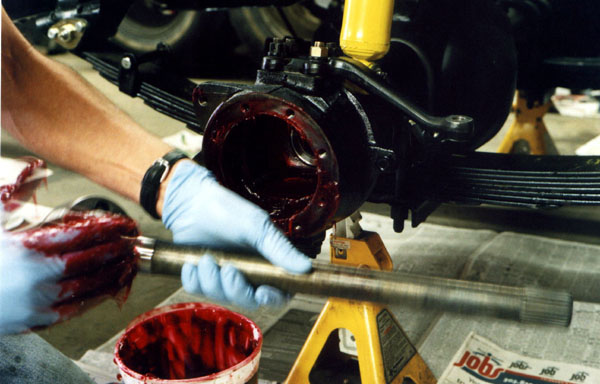
I cleaned the ends of the axle with a wire wheel, and wiped everything down.
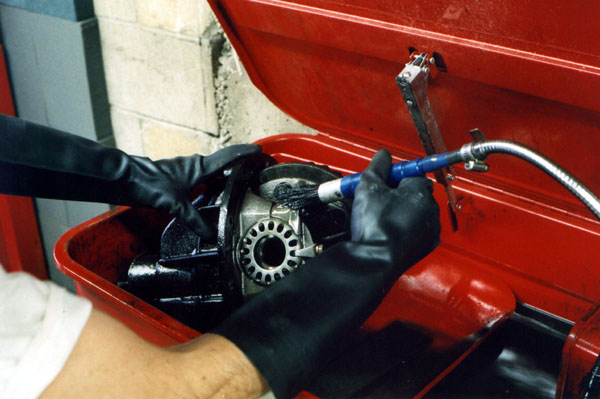
The differential is cleaned thoroughly in the parts sink.
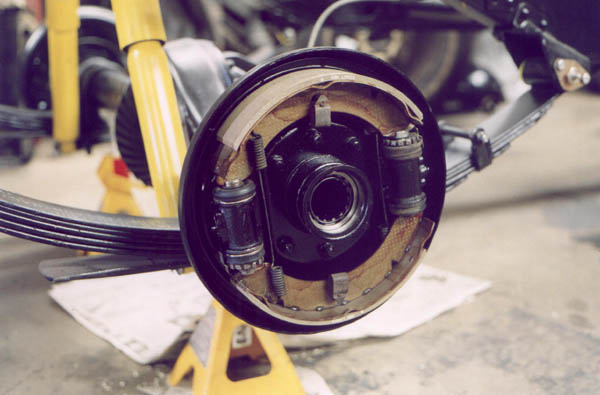
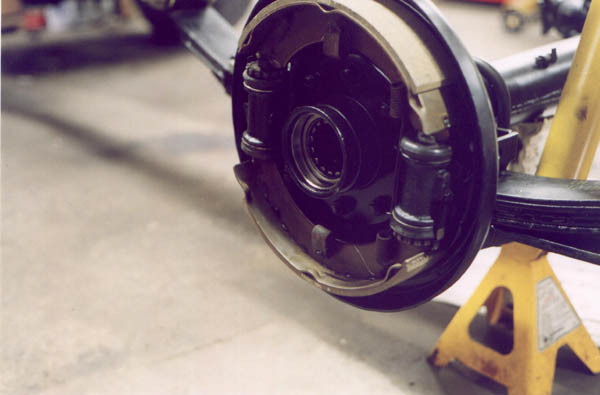
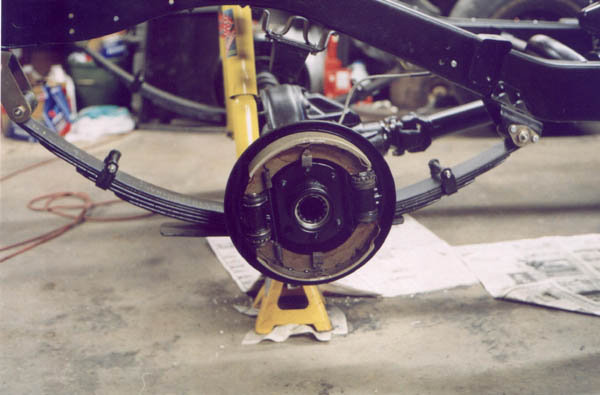
After the rear brakes are cleaned up, serviced and reinstalled I took a few shots. All the wheel cylinders were fine, so I didn't rebuild or replace them. I did install new shoes and drums.
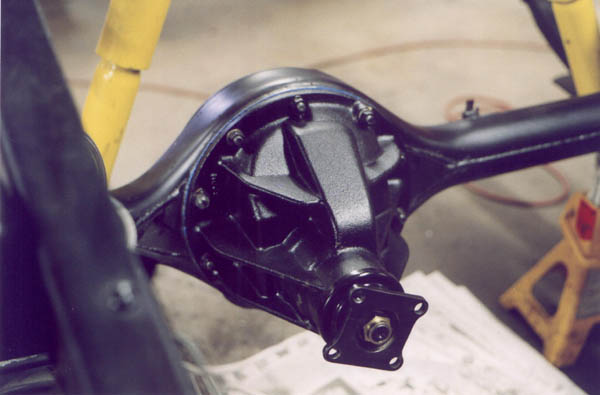
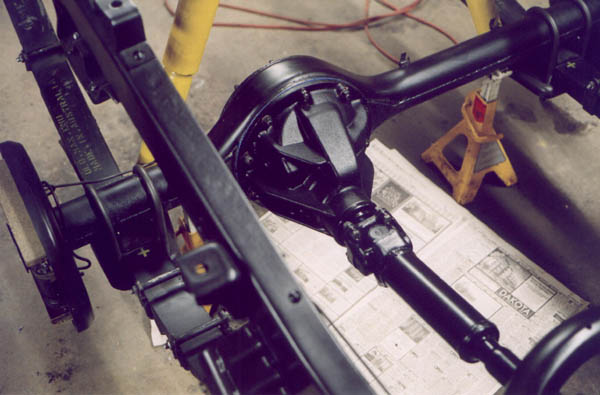
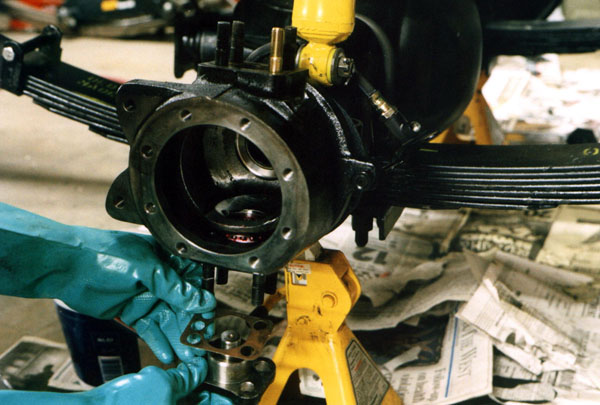
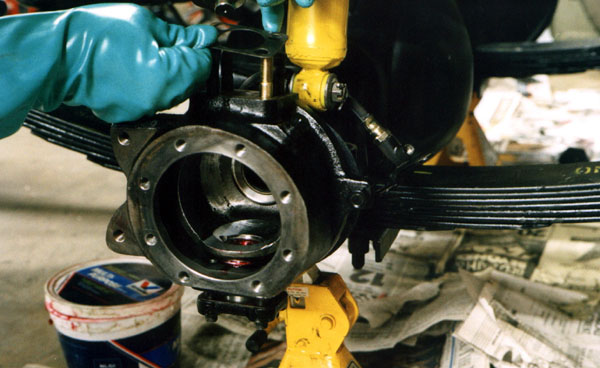
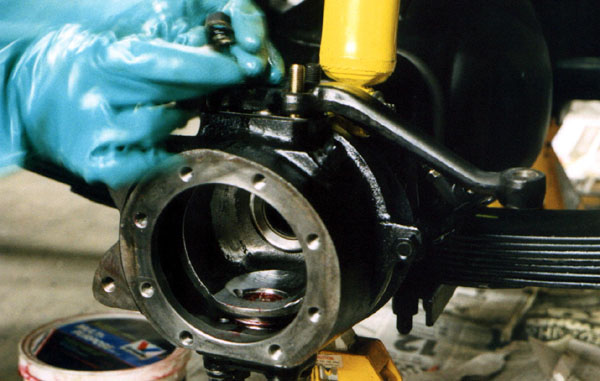
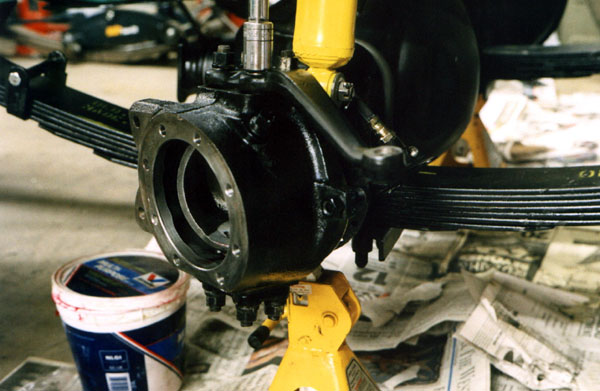
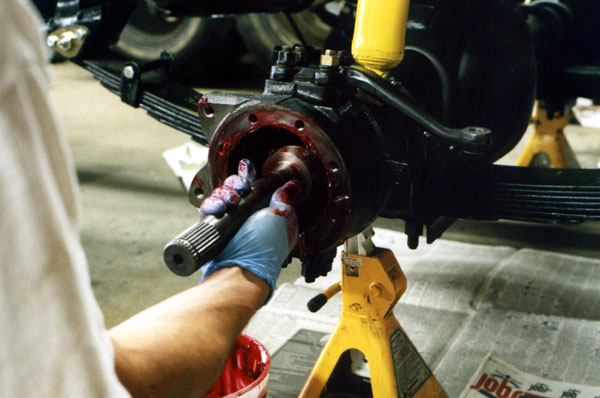
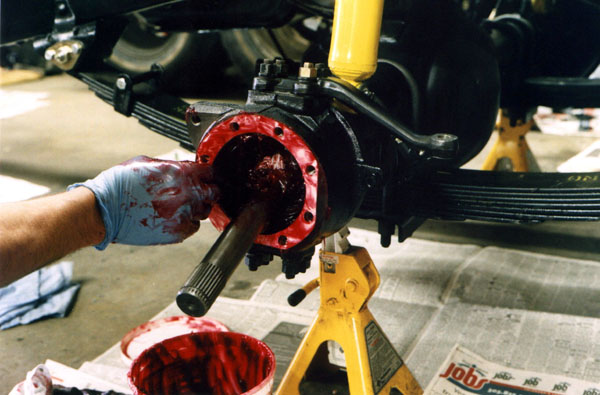
After cleaning and inspecting the front diff, it is installed in the rear. Not shown here, I installed a Lock Right in it.
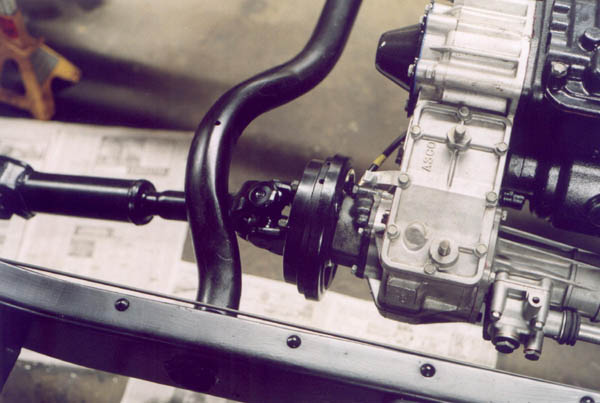
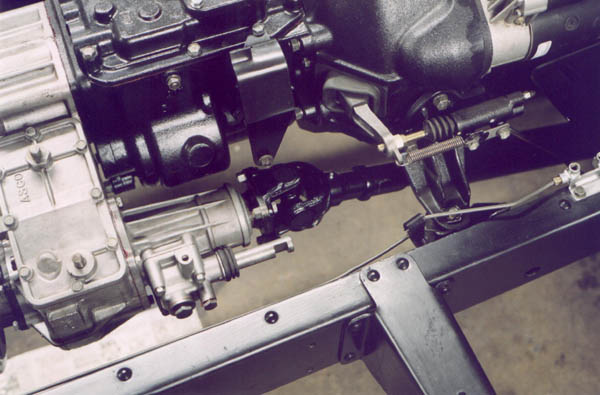
Now that the 3rd member is installed, the drive line can be bolted in.
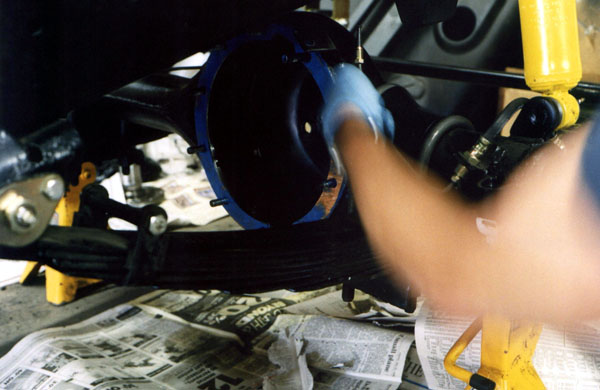
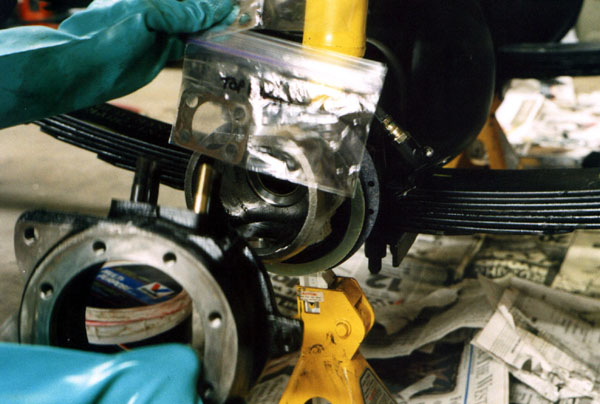
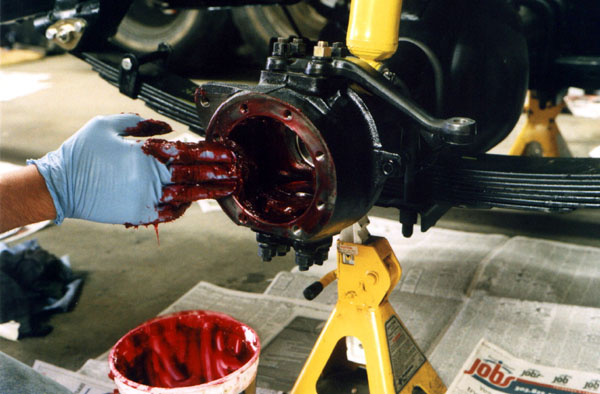
In preparation for installing the rear diff into the front, I spread a very thin coat of permatex ultra blue on both sides of he paper gasket. I have found that this helps future disassemblies go much easier.
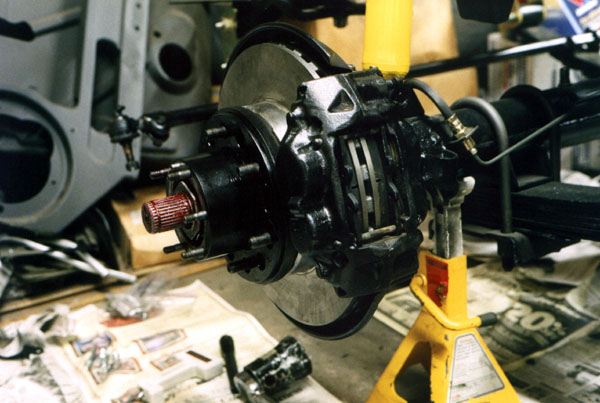
Prior to most of these photos, I had been busy rebuilding the driver's side, and took a shot just before I finished. The rest of the photos will be of the passenger's side, step by step.
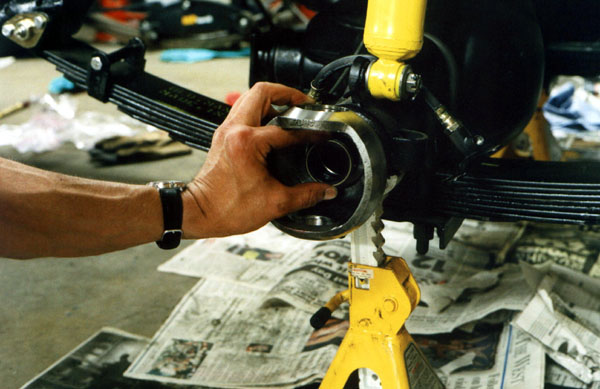
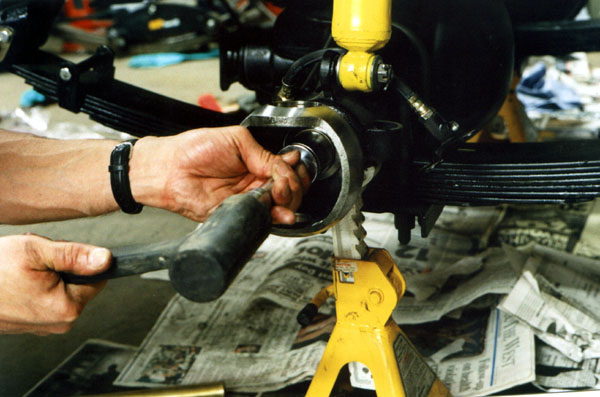
Below is the inner axle oil seal, then the technique to press it in using a large socket. I like to use the rubber lead filled mallet on operations like driving in seals, it is much gentler than a conventional hammer.
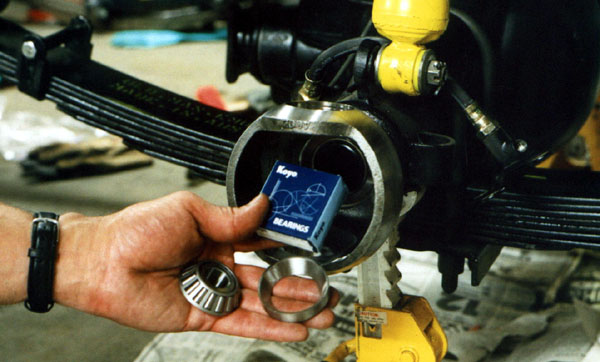
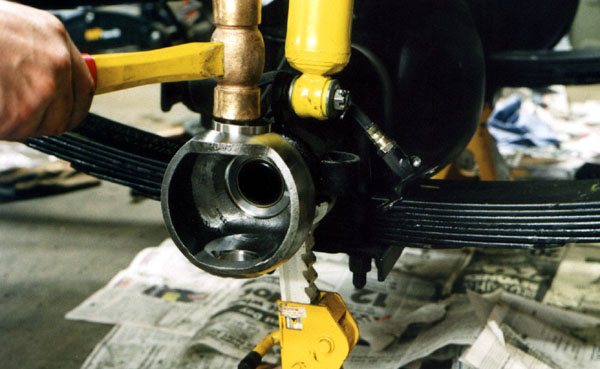
The proper Koyo knuckle bearings I got from Jim Sanville at Canon City 4x4. I drove the races into the axle housings in gently with my copper hammer.
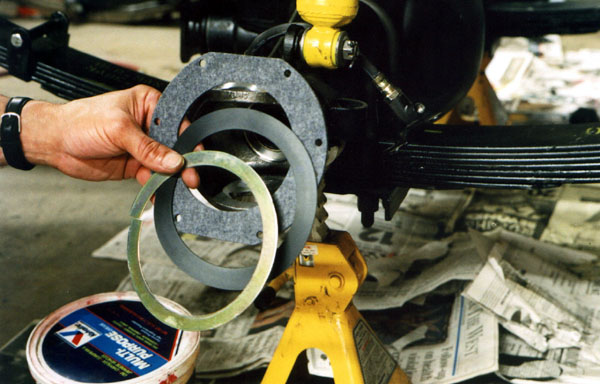
Before the knuckles are installed, the wiper parts must be fitted over the bulge in the axle housing. Unlike Dana axles, Land Cruiser axles are protected from dirt, dust and moisture. In order, the felt goes over the axle, then the rubber and then the split ring. The retainer halfs will be bolted on from the backside after the knuckles are installed. Next, the knuckle bearings themselves are packed with grease. Earlier I had talked about the knuckle shims. I had saved these off in labelled ziplocks for reinstallation. It turned out after I had put the knuckles back on that these shims gave too much preload, and had to remove the steering arm and lower bearing retainer twice before I got the correct shmming. The preload was too much, and it took additional shims to bring it into spec.
Once the bearings are in place, the knuckle is worked onto the end of the axle housing.

Then the shims are added to top and bottom.
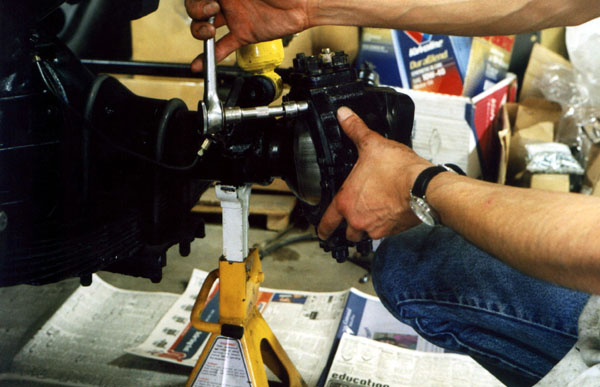
Cone washers, split washers and nuts are installed and torqued down.
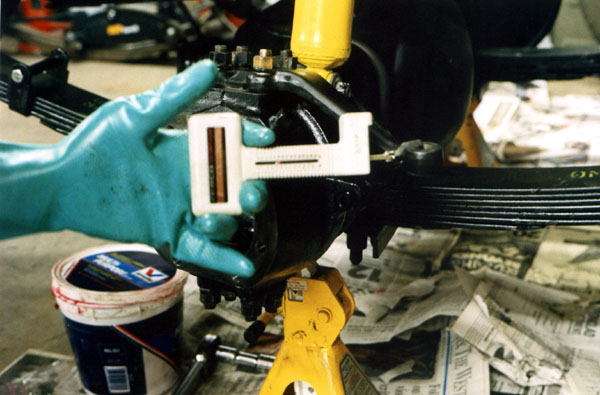
Measuring the preload at the steering arm with a fish scale. I should have refocused the camera!
After finally getting the proper preload for the knuckle bearings with the various shims, the felt retainer halfs are bolted onto the back of the knuckle.
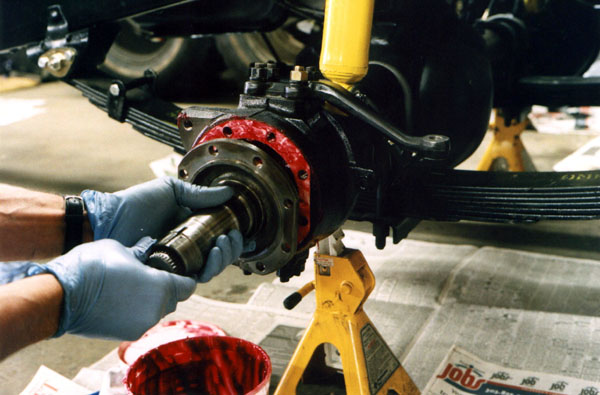
Pack grease into the spaces between the knuckle and axle housing, pack the birfield with grease, install the birfield and then stick the gasket onto the knuckle before the spindle.
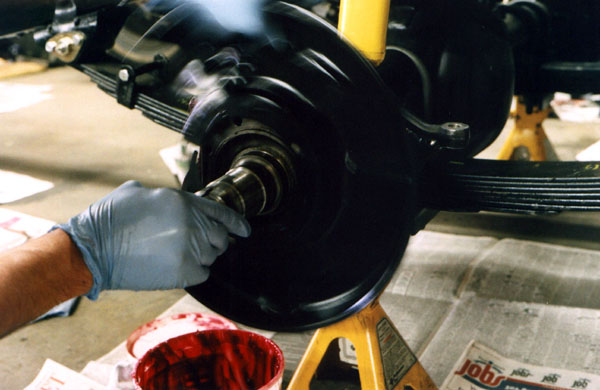
Next, put the spindle on, then the brake backing plate, and then the outer gasket.
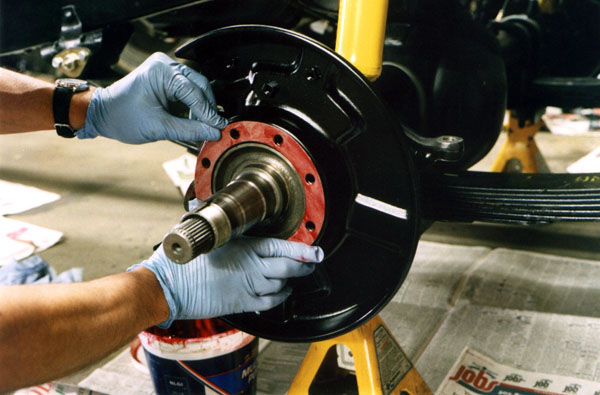
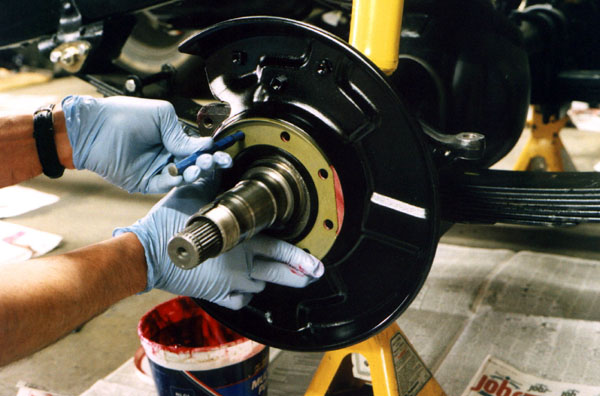
I use a pin punch to keep all this mess lined up. We have the spindle, the brake backing plate, the retainer, two gaskets and a birf trying to get this out of alignment, and this pin punch really helps to keep things together so the paper gaskets don't get torn.
Page 1 2
3 4 5
6 7 8
9 10 11
12 13 14
15 16 17
18 19 20 21
22 23 24
25 26 27
28 29 30
31 32 33
home what's new cruiser links trail reports cruiser sightings land cruiser tribute tech tips photos maps band links misc links profile email