Page 1 2 3 4 5 6 7 8 9 10 11 12 13 14 15 16 17 18 19 20 21 22 23 24 25 26 27 28 29 30 31 32 33
Mid-late summer 2000, a great deal of work is done simply cleaning everything up. The gunga (old grease/oil/dirt) is exposed now that the cowl is off, and there is a lot of evenings and weekends spent just cleaning everything up prior to pulling the engine and drivetrain and starting on sand blasting the frame.
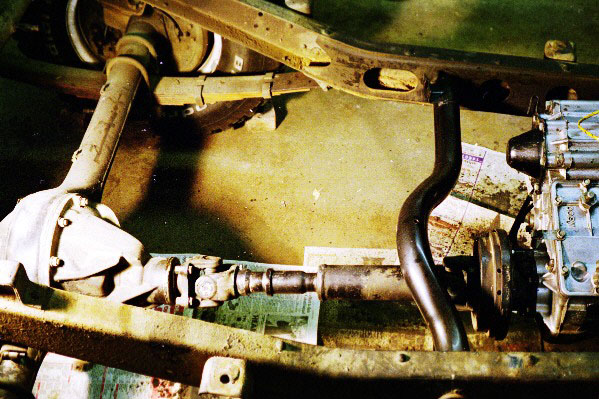
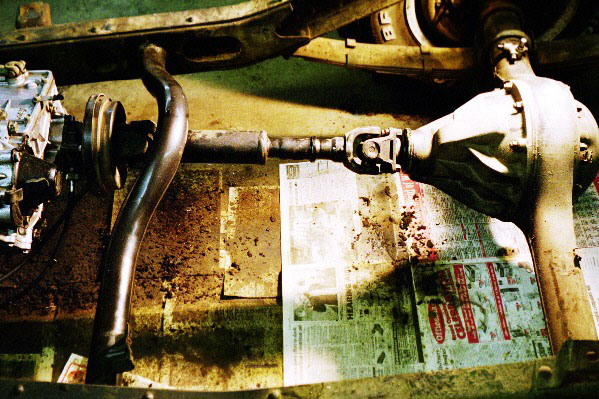
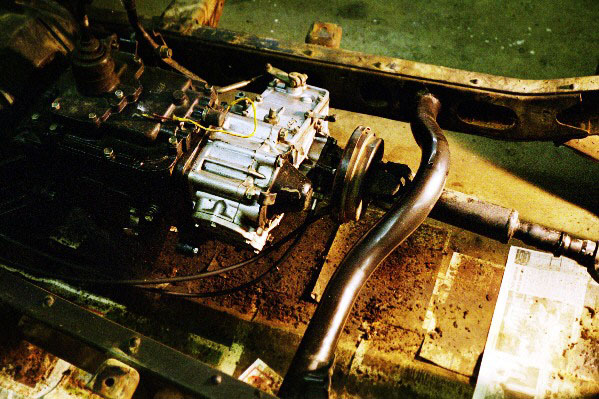

After meticulously scraping and cleaning every nook and cranny of the tranny, t-case, diff and axle the cruiser underneath starts to emerge. It's really kind of neat to be able to visualize all this stuff from above, it is rare that we have the bodies off our cruisers.
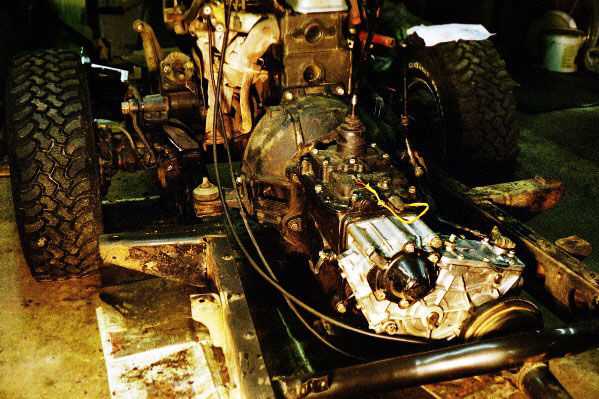
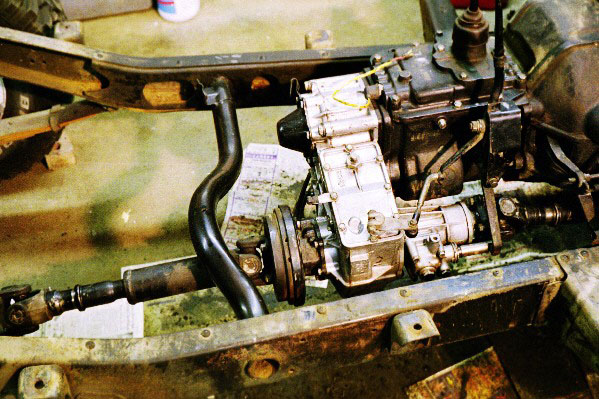
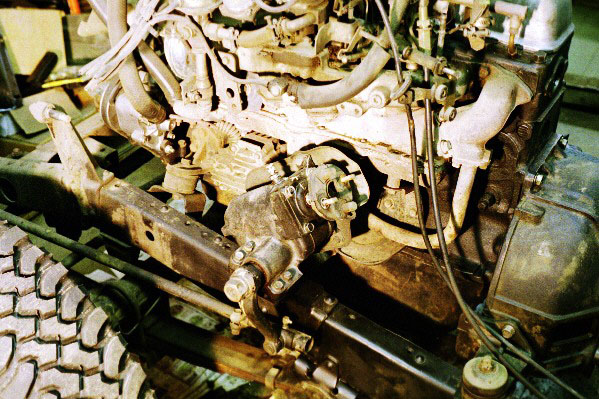
Like the cowl shots on the previous page, a lot of these were taken just to get a good view of what things are supposed to look like when they are still together. It is likely that these photos will come in handy when it is time to put everything back together.

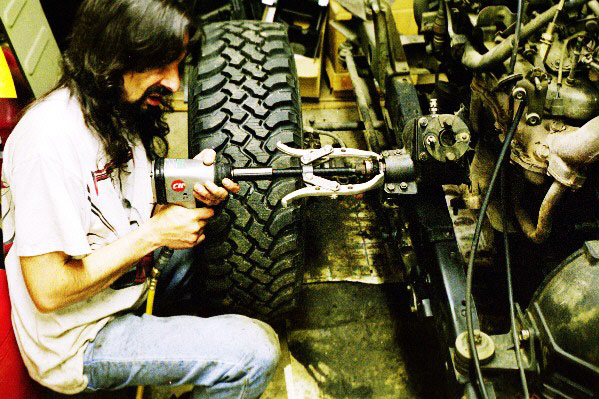
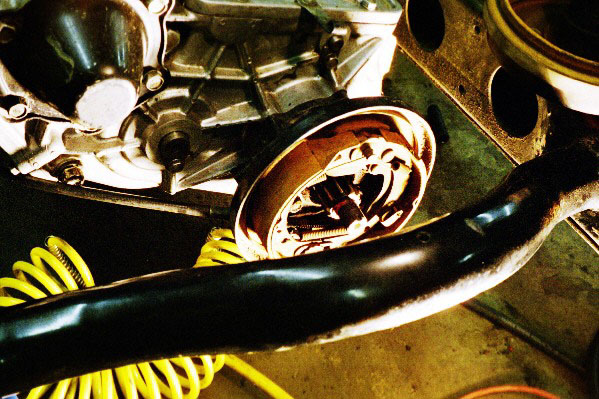
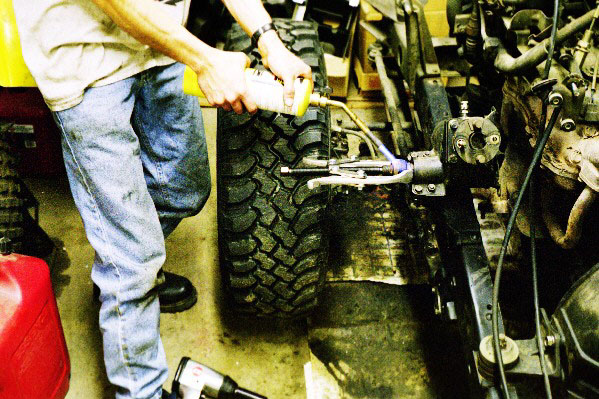
To get the pitman arm off for the first time in the cruiser's 24 years, five techniques are used. First, the splined joint is soaked in liquid wrench repeatedly for each night prior to the job. Next, a 7 ton puller from Sears is used, and driven with a 1/2" air impact wrench. Third, a mapp gas torch is used to heat the pitman arm. And fourth, a ball pien hammer is used to tap the pitman arm periodically. The fifth part of the process is holding your mouth right!
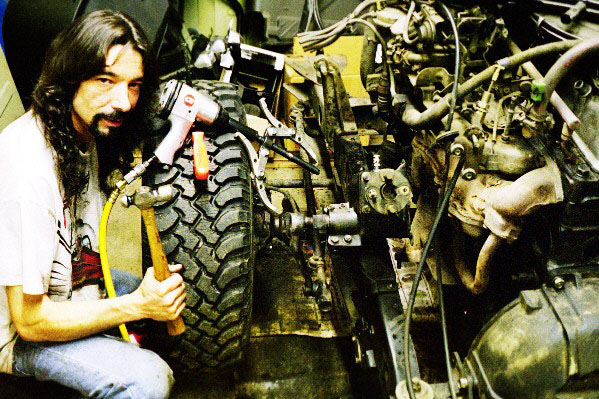
When the pitman decided to let loose, it did so with a bang, as if it was being blown off with explosive bolts. Very impressive!
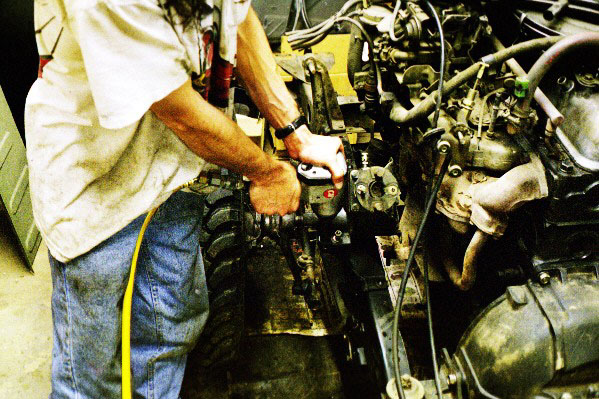
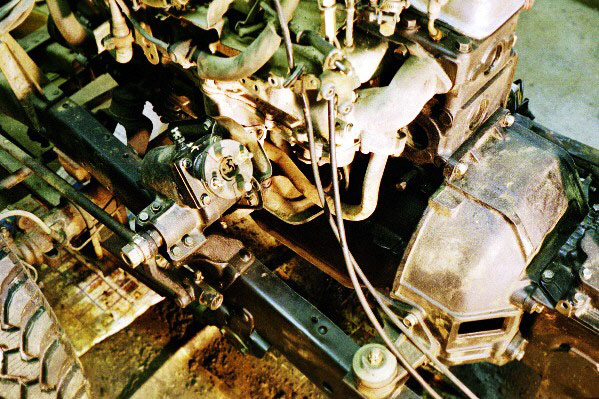
Getting the steering box unbolted from the mount was a walk in the park with air tools.
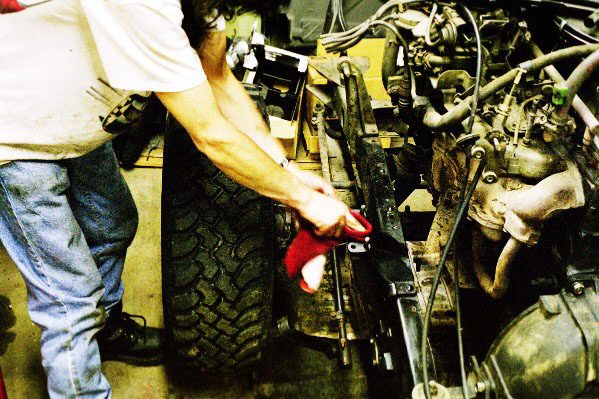
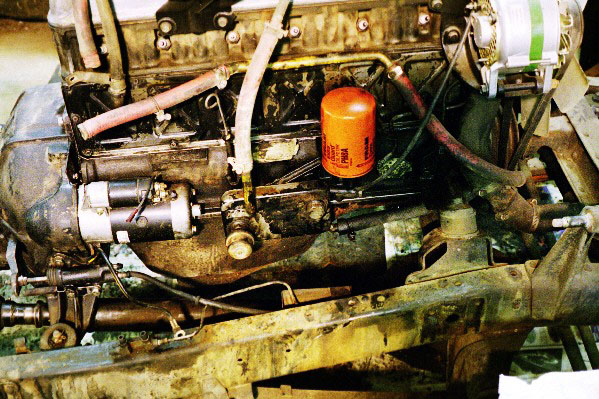
After removing the steering box, it is discovered that it has been leaking. Oh joy, looks like another thing I have to rebuild, not part of the original scope of the project. Yikes, this resto project has just grown and grown. One upside from the leak is that it has coated the frame rail, and you can see in the photos above that the original paint is still intact and is rust-free. It will still be sandblasted off to white metal anyway, start with a clean slate.

This brings us to the end of the summer. Wayne Puffer is a cruiserhead from New York who is in town for a few weeks on assignmemnt from his employer, and comes over to help out. We set out to work, with Wayne helping removing the driveshafts.
I "met" Wayne on the Cool Cruisers Info Exchange a few years ago, and after this session he went back to New York, but has returned again, this time permanently. He is planning to join Rising Sun.
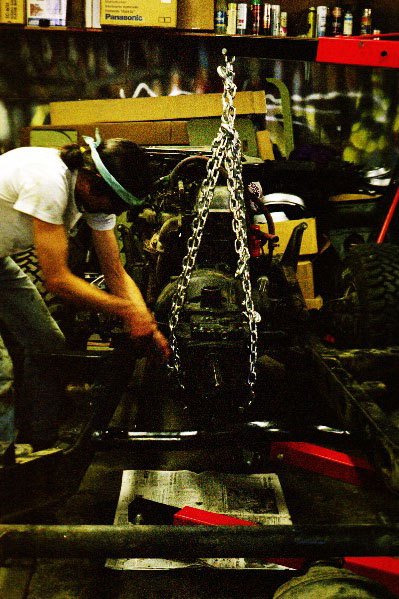
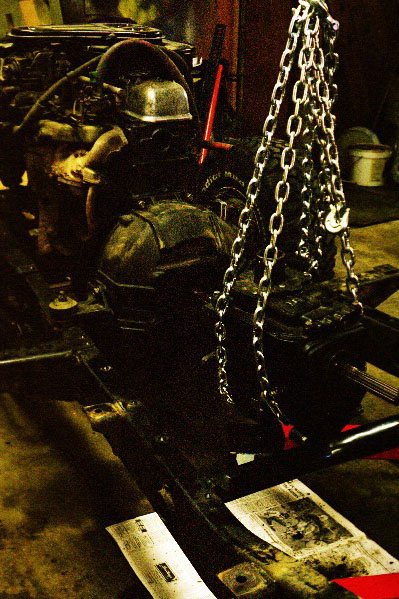
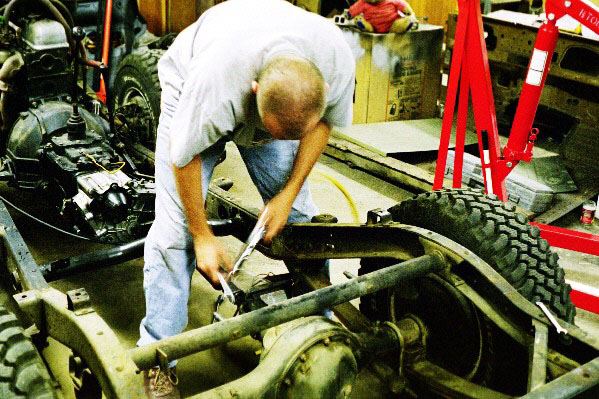
Wayne helped me remove the t-case, then the next day I set about pulling the tranny. Not totally necessary, but handy when working by yourself, the cherry picker is used to support the weight of the tranny while it is slid out from the clutch.

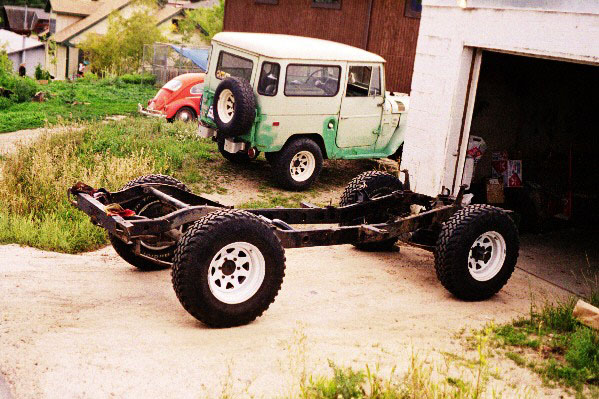
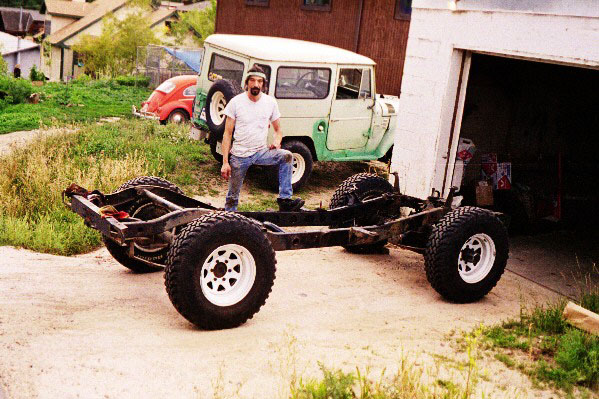
Now all that's left is a rolling chassis, ready for sandblasting.
Page 1 2 3 4 5 6 7 8 9 10 11 12 13 14 15 16 17 18 19 20 21 22 23 24 25 26 27 28 29 30 31 32 33